

Memory integrity is an important part of Microsoft Defender because it protects against a wide range of security risks. This includes stopping malware from changing the data in memory to hide itself or from adding itself to processes that are already running. It also keeps data in memory from being changed by attacks that take advantage of bugs in the operating system or other software.
But some users have said they can’t get Core isolation to work or keep the memory safe. In particular, they’ve had trouble with the PxHlpa64.sys driver, which can make memory integrity suddenly stop working or stop it from being turned on.
Table of Contents
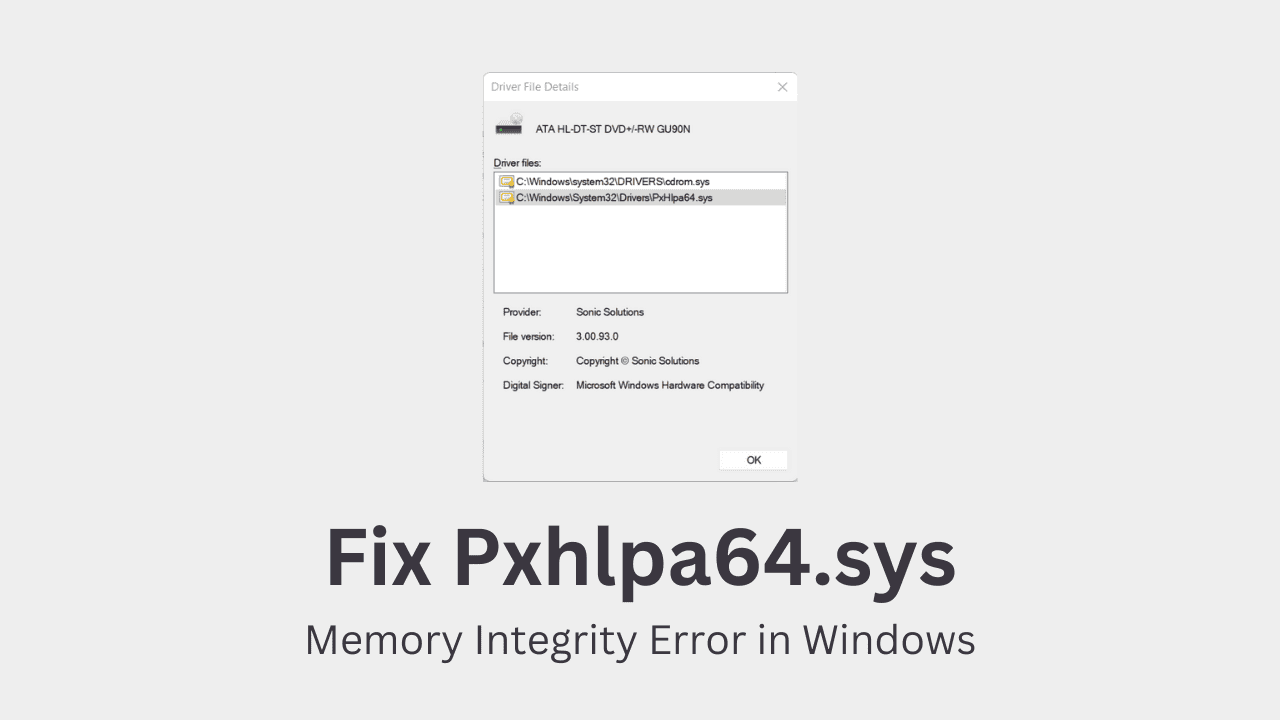
What does PXHLPA64.SYS mean?
The system file pxhlpa64.sys is the process that starts PxHelp64. PxHelp64 is an important part of the Sonic Digital Media Software, which is an audio workstation used by big film companies. Digital Media has digital audio editors that let the user record audio from multiple sources and store the digital audio in the system memory.
The user can also control when the sound starts and stops and how long it lasts per audio timeline. They can also fade in, out, and between digital sound schemes for performance. The user can mix different sounds and volume levels together, and they can also use advanced sound effects and filters.
Causes of the Pxhlpa64.sys Memory Integrity Error
It turns out that you might have to deal with this problem for a number of different reasons. Here are a few things that could cause this problem to happen:
Memory Integrity is Turned Off at the Registry Level
You should first try to force memory integrity on by using Registry Editor.
Pxhlpa64.sys Has Effects Even When It’s Not Being Used
Using Registry Editor, you can easily turn off the PxHlpa64.sys file if your PC doesn’t need it. To stop this file from running, you only need to make a new Start DWORD. If you run Powershell as an administrator, you can also just delete the PxHlpa64.sys file.
Roxio’s Actions Cause Problems
A lot of people who have this problem say that it is also indirectly caused by Roxio, a DVD burning program that is known to mess with the memory integrity feature in Windows 10 and Windows 11. People who had the same problem installing Sonic (Roxio) on their computers said that the problem went away when they uninstalled the program.
Errors in System Files
If you’ve already tried all the other fixes and they haven’t worked, the problem could be a corrupted system file. If the problem keeps happening, you should quickly run SFC and DISM scans and move towards a clean install or repair install.
Windows Got a Bad Update
Many people who have had this problem have confirmed that a bad Windows update was the cause in their cases (KB5017026). After uninstalling this update, many people who had the problem said it was fixed for good and that they could use the memory integrity feature without any problems.
The Ownership of Pxhlpa64.sys is Missing
You might not be able to turn on memory integrity on your PC if you don’t take full ownership of the file. You can safely delete a file and turn on memory integrity once you own it. If you don’t fix it, the same error will keep happening.
Hardware Virtualization is Disabled
This problem could happen if your BIOS settings for virtualization are turned off and you try to turn on memory integrity in Windows 11. You can quickly fix this by going to your BIOS/UEFI settings and turning on virtualization technology again.
How to Fix the Windows PxHlpa64.sys Memory Integrity error?
Most processes that aren’t part of the system can be stopped because they don’t help your operating system run. Sonic CD/DVD uses pxhlpa64.sys. If you stop pxhlpa64.sys, it will probably start up again later, either when you restart your computer or when an application starts. To get rid of pxhlpa64.sys for good, you need to uninstall the program that runs it, which in this case is Sonic CD/DVD. Here are some ways to fix the error on your device for good:
Fix 1: Using Registry Editor Turn on Memory Integrity by Force
Keep in mind that memory integrity is turned off by default on Windows 11. But there are a lot of times when Windows Update will turn it on and cause this incompatibility error. If you can’t turn on memory integrity the normal way because you always get the same error, the first thing you should try is turning it on forcibly through Registry Editor. Keep in mind that Secure boot and TPM 2.0 must both be turned on for Memory Integrity to work. Follow these steps if you think you meet this requirement and are willing to try to fix this problem using Registry Editor:
- By pressing the Windows key and the letter R, you can open the Run box.
- Next, type “regedit” in the text box and press Ctrl + Shift + Enter to open the Registry Editor as an administrator.
- Open a window called “Regedit.”
- When asked by the User Account Control (UAC), click Yes to give admin access.
- Once you’re in the Registry Editor, use the menu on the left to go to the following place:
HKEYLOCALMAChINE\ SYSTEM\ CurrentControlSet\ Control\ DeviceGuard\ Scenarios - When you’re finally in the right place, right-click on the Scenarios key and choose New > Key from the menu that pops up.
- Give the new key the name HypervisorEnforcedCodeIntegrity, and then save the changes.
- After you’ve made the HypervisorEnforcedCodeIntegrity key, make the DWORD that will turn this feature on. To do this, right-click the newly created HypervisorEnforcedCodeIntegrity key and choose New > DWORD (32-bit) Value from the menu that appears.
- Name the new DWORD “Enabled,” and then press Enter to save the change.
- Double-click the newly created Enabled Dword and set the Base to Hexadecimal and the Value data to 1 before clicking OK to save the changes.
- Close the Registry Editor and restart your computer for the changes to take effect.
Fix 2: Install Driver Updates
In some cases, the PxHlpa64.sys driver might not pass security checks because it is just old. Because of this, you should update your system’s drivers. Start by installing the latest Windows updates and follow the steps below:
- Type Updates into Windows Search and hit Enter.
- Click the Check for updates button in the new window.
- Wait until Windows gets all the needed files and installs them.
- It’s especially important to install optional updates because that’s where driver updates are found.
- Once done, reboot your device.
Fix 3: Uninstall Sonic or Roxio From Your Pc if You Can
Many people who have had this problem say that Roxio, a DVD burning program that is known to conflict with the memory integrity feature on Windows 10 and 11, can also be a factor. Other PC users who had the same problem while Sonic (Roxio) was installed said that the problem was finally fixed when the software was completely removed. Until Sonic (Roxio) releases an update that fixes this problem, there is no way to turn on memory integrity while this software is installed on your PC. Follow the steps below to learn how to uninstall Sonic from a Windows 10 or Windows 11 computer:
- By pressing the Windows key and the letter R, you can open the Run box.
- Then, type “appwiz.cpl” and press Ctrl + Shift + Enter to open the Programs and Features menu.
- Open the menu of Programs and Features.
- If User Account Control (UAC) asks you, click Yes to give admin access.
- Scroll down the list of installed programs in the Programs and Features menu until you find the entry for Sonic (Roxio).
- Right-click on the Sonic (Roxio) entry and choose “Uninstall” from the pop-up menu.
- Next, follow the on-screen instructions to finish uninstalling, then restart your computer and try to turn on memory integrity again to see if the problem is fixed.
Fix 4: Run the DISM and SFC Scan
If you’ve tried all of the above solutions and still can’t turn on memory integrity on Windows 11, you should at least assume that the problem is caused by a corrupt file in the system. In this case, you should try to fix the broken files on your Windows 11 computer that are causing it to act this way. System File Checker (SFC) and DISM should be run right after each other to replace damaged system files with good copies and failed storage sectors with copies that have never been used. What you have to do is:
- To open the Run box, press the Windows key and the letter R.
- When the dialogue box comes up, type “cmd” and hold down the Shift key and the Enter key while pressing the Control key. This will bring up a Command Prompt for the administrator.
- Open the CMD window.
- User Account Control will ask you if you want to be an administrator. If you say “Yes,” you will be able to do so.
- To start an SFC scan, type the following command at the elevated CMD prompt and press Enter:
sfc/scannow - Use the same CMD window that you used to run the SFC scan to run a DISM scan. The command you have to use is:
DISM /Online /Cleanup-Image /RestoreHealth - Start your computer up once to see if the problem is still there.
Conclusion
Because of a problem with the Memory integrity and the PxHlpa64.sys driver, it may be hard for users to turn on Core isolation. Windows checks the drivers to make sure they are all good before letting the feature be turned on. When the system finds drivers that don’t work well together, it makes a list of them and gives suggestions for how to fix the problem.
PxHlpa64.sys might look like a Windows file, but it is actually a driver for Hewlett-Packard software for a DVD drive. Some users said their computers didn’t even have this software. Memory Integrity can be turned on in a number of ways, including removing this driver or fixing the problem in another way.