

Password-protecting a Google Sheet is a crucial measure for safeguarding sensitive information and ensuring data security. In today’s digital age, where data breaches and unauthorized access are prevalent concerns, securing documents that contain confidential or personal information is essential.
Google Sheets, while a powerful tool for collaboration and data management, can be vulnerable to unauthorized access if not properly protected.
By password-protecting a Google Sheet, users can limit access to only those with the necessary credentials, thereby preventing unauthorized viewing or editing of sensitive data.
This added layer of security not only helps in maintaining the integrity and confidentiality of the information but also ensures that the data remains accessible only to authorized individuals.
Table of Contents
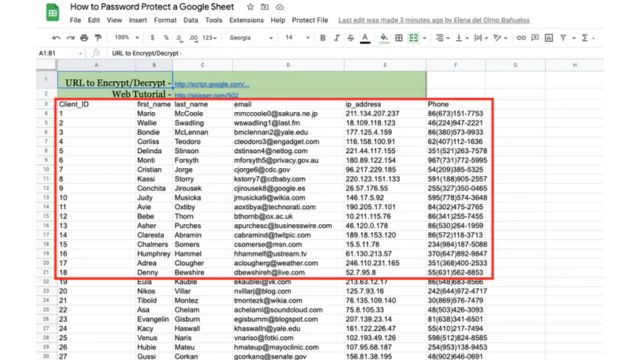
Locking Down Your Google Sheets: How to Set Up Password Protection for Enhanced Security?
Google Sheets doesn’t offer built-in password protection or encryption, relying solely on your Google account credentials for security. To add an extra layer of protection for your sensitive data, follow these steps using Skipser:
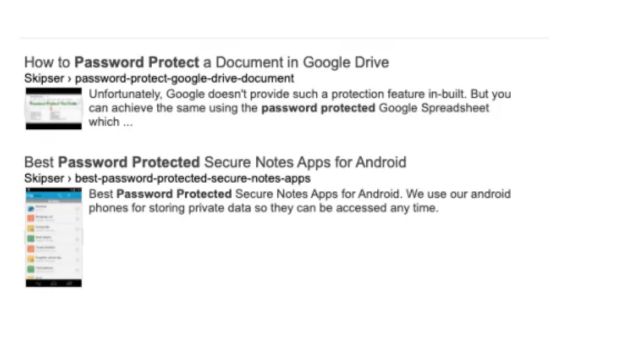
- Visit Skipser: Go to Skipser.com and search for “password protect”.

- Find the Article: Locate and select the “How to Password Protect” article from the search results.
- Check for the Protect File Tab: If the “Protect File” tab is visible in your Google Sheet, you can skip the following steps and proceed to the encryption section. If not, continue with the instructions.

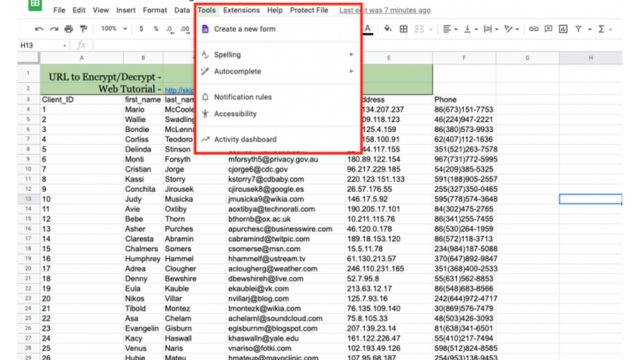
- Open Script Editor: In Google Sheets, navigate to the “Tools” tab and click on “Script Editor.” This will open a new window or tab with a script editor.
- Save a New Version: In the script editor window, select “File,” then “Manage Versions,” and click on “Save a new version.” You can leave all fields blank and click “OK.”
- Deploy as Web App: Go to “Publish” and select “Deploy as webapp.” Click on the “Deploy” button to initiate the deployment process.
- Confirm Deployment: You should see a confirmation message indicating that the app has been successfully deployed as a web app.
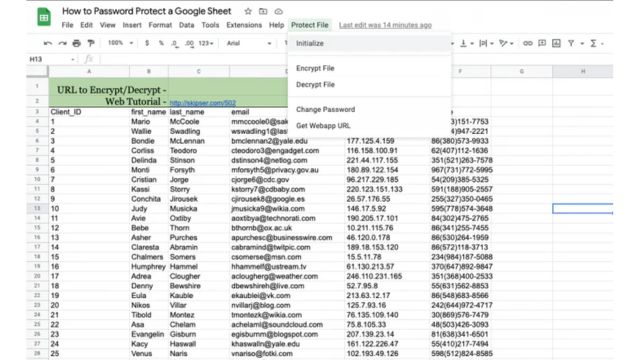
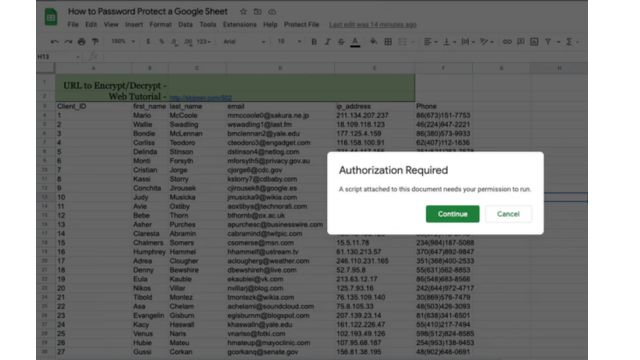
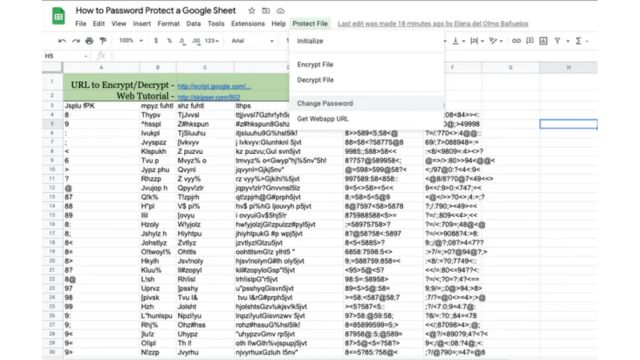
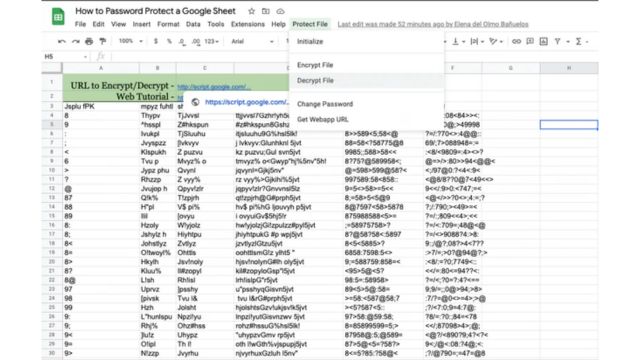
- Initialize Protection: Return to your Google Sheet, where you should now see a “Protect File” tab. Click on this tab and then click on “Initialize.”
- Grant Permissions: Click “Continue” to authorize the script to run.
Once these steps are complete, your Google Sheet will be equipped with password protection, ensuring your data is stored securely. Remember to keep the first two rows of the sheet intact to maintain functionality.
Securing Your Google Sheets: A Step-by-Step Guide to Encrypting Your Data
Now that your Google Sheet is password-protected, follow these steps to encrypt the data, ensuring that only users with the password can access the information:
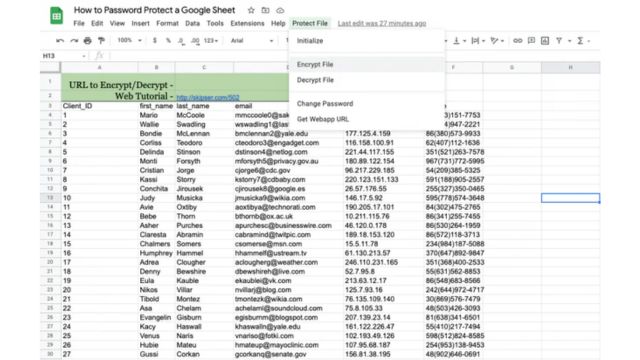
- Access the Encryption Tool: Click on the “Protect File” tab in your Google Sheet, then select “Encrypt File.”
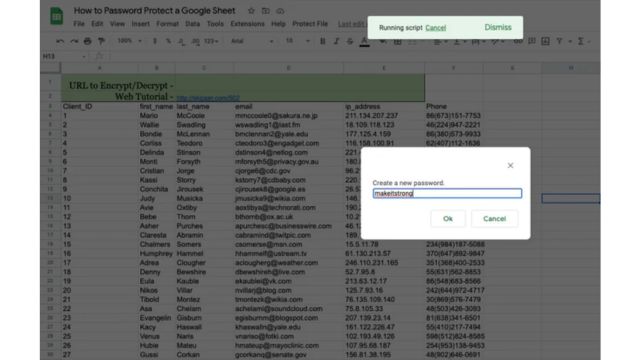
- Set Your Password: Create a strong password that you will share with the users who need access to the encrypted data.
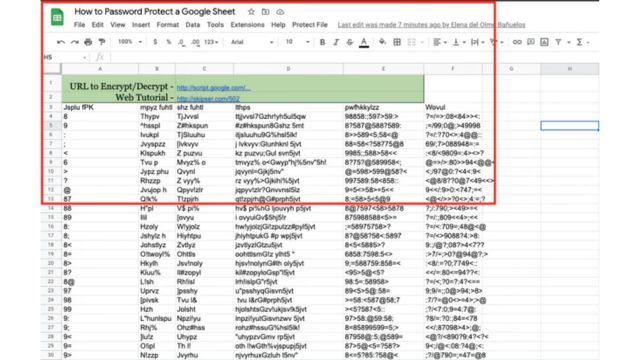
- Verify Encryption: After setting the password, the data in each cell will be scrambled. This encryption ensures that the content remains unreadable to anyone without the password you created.
With these steps, your Google Sheet is now encrypted and secure, making it accessible only to those with the correct password.
How to Change the Password of an Encrypted Google Sheet?
Changing the password of an encrypted Google Sheet is essential when the project team changes or the data becomes more sensitive. Here’s how to update the password:
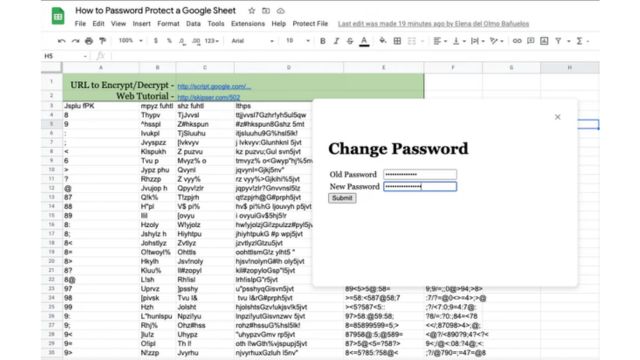
- Access the Protection Settings: Go to the “Protect File” tab and click on “Change Password.”
- Update the Password: Enter the current password and create a new one. Make sure your new password is significantly different from the old one to enhance security.
Regularly updating your password helps maintain security, but it’s important to create strong passwords that are both secure and memorable. Consider these tips from Google Account Help:
- Make your password unique.
- Make your password longer but memorable.
- Avoid using personal information or common words.
How to Decrypt Your Data in Google Sheets?
If you need to access or share the contents of your encrypted Google Sheet, follow these steps to decrypt the data:
- Open Decryption Tool: Navigate to the “Protect File” tab and select “Decrypt File.”
- Enter Password: You will be prompted to enter the password you set during encryption.
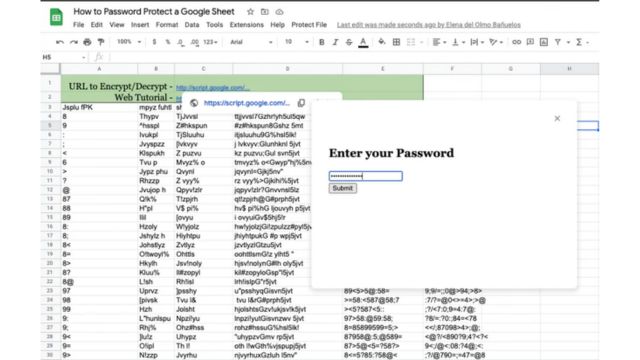
- Access Data: Once the correct password is entered, the data will be decrypted, allowing you to read and edit the contents as needed.
This process ensures that you can manage and utilize your encrypted data while maintaining security and control.
Protect your sensitive data in Google Sheets with our simple password-protection guide. Follow easy steps to secure your documents and keep unauthorized access at bay. Learn more on on our website Trendblog.