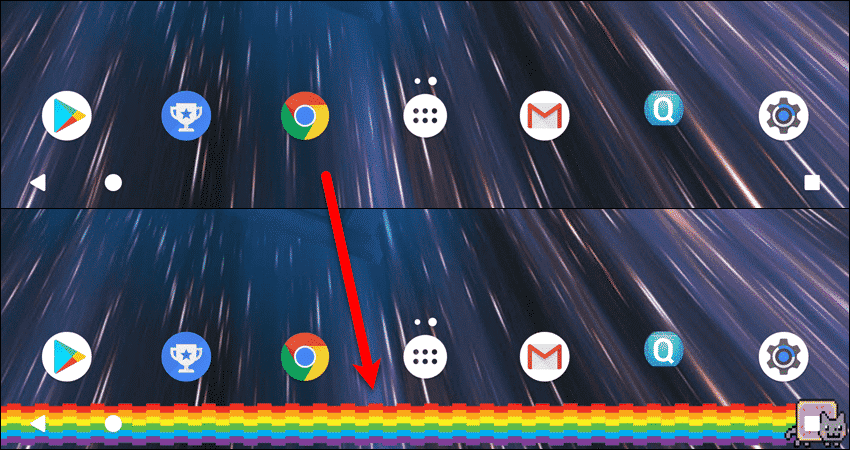
One of the benefits of Android is the ability to customize just about everything. You can even customize the navigation bar, if your device has a navigation bar instead of physical buttons.
Today we’ll show you how to customize the navigation bar on your Android device using a free app called Navbar Apps.
Table of Contents
Install Navbar Apps
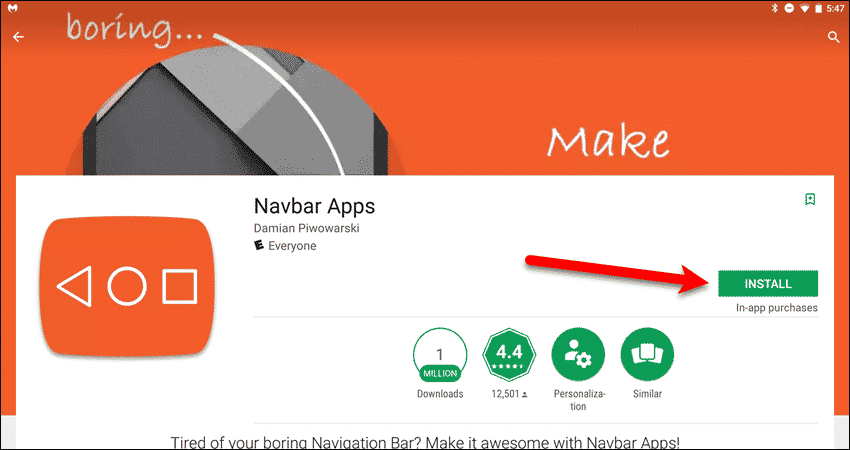
Install Navbar Apps on your Android device and then open the app.
Enable Navbar Apps
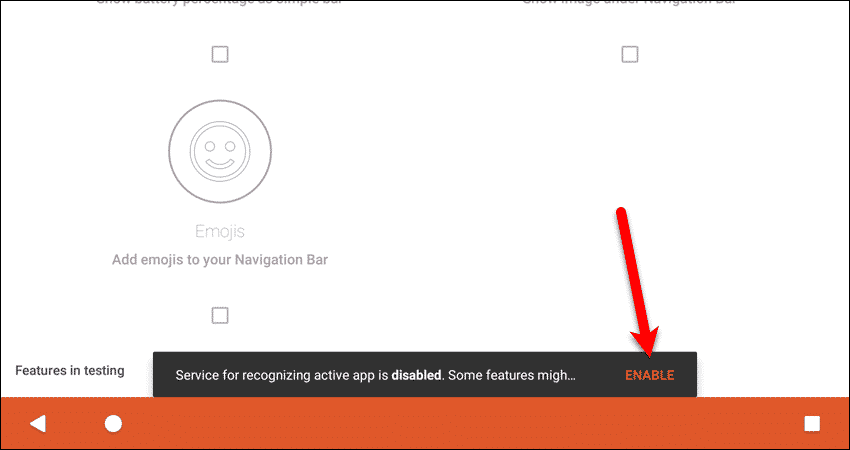
One of the features in Navbar Apps is the ability for the Navigation bar to get its color from the currently active app. For this to work, you must enable a service in the “Accessibility” options.
Tap “Enable” on the message at the bottom of the screen.
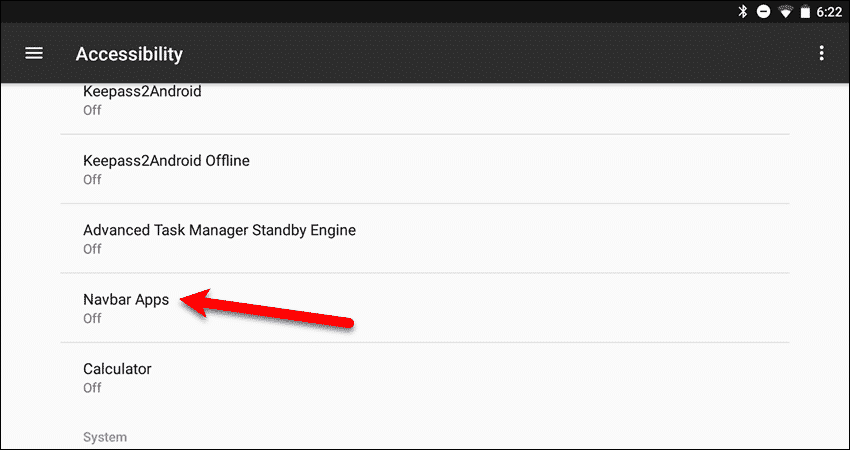
On the “Accessibility” screen, tap “Navbar Apps“.
Tap the slider button on the right side of the “Navbar Apps” screen.
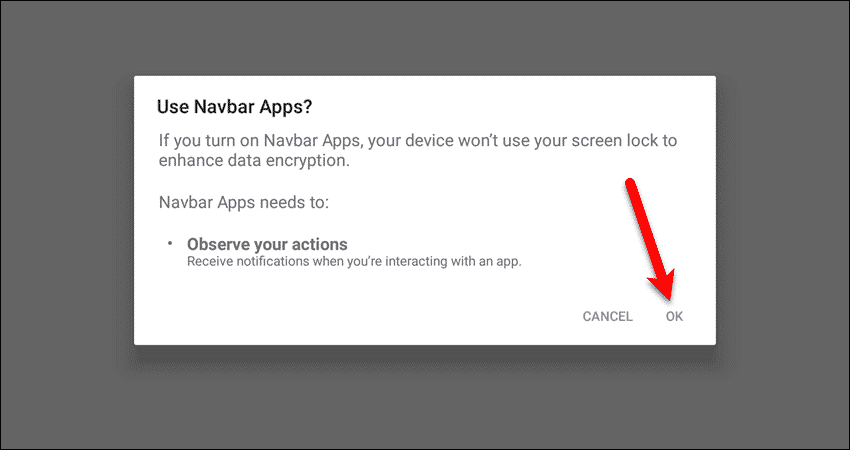
A confirmation dialog box displays warning you that turning on the “Navbar Apps” option in the “Accessibility” settings affects data encryption. To turn on the option, tap “OK“.
Enter your password when prompted.
Customize The Navigation Bar By Dynamically Changing Its Color
First, we’ll change the color of the Navigation bar based on the color scheme of the currently active app. For example, the color scheme in Navbar Apps is orange, so the Navigation bar will turn orange while you’re in that app.
To use this feature, first make sure the “Change color of the Navigation Bar” slider button is on (it should be orange). Then, make sure “Active App” is selected.
If you want to prevent some apps from changing the color of the Navigation bar, tap the gear icon to the right of the that option.
Prevent An App From Affecting The Color Of the Navigation Bar
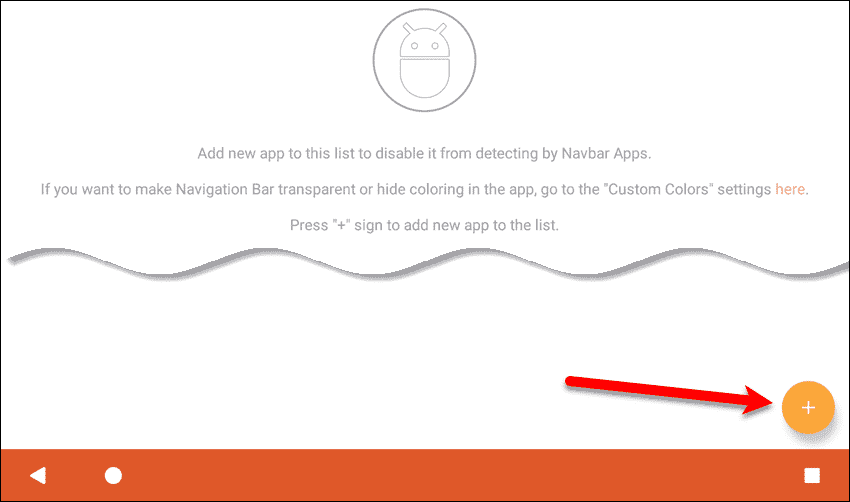
To prevent an app from affecting the color of the Navigation bar, tap on “here” in the second paragraph on the “Custom Colors” settings screen for “Active App“.
To add an app you want to disable, tap the plus icon at the bottom of the “Disable apps from detecting” screen.
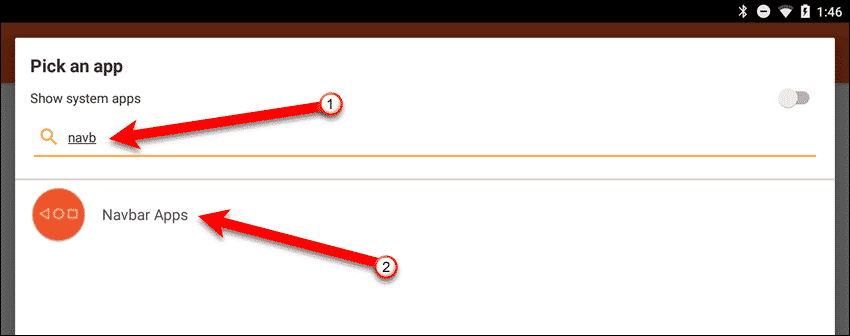
Start typing the name of an app in the search field on the “Pick an app” dialog box. When the app you want is listed in the results, tap on it.
The app is added to the list of apps that will not affect the color of the Navigation bar.
If you change your mind about an app you’ve added, tap the trash can icon to the right of that app to delete it.
Tap the back arrow in the upper-left corner of the screen to return to the “Custom Colors” screen.
Manually Set a Color For Specific Apps
The “Custom Colors” screen allows you to manually set a color for specific apps. The color you select for an app will be used on the Navigation bar, instead of the color scheme in the app.
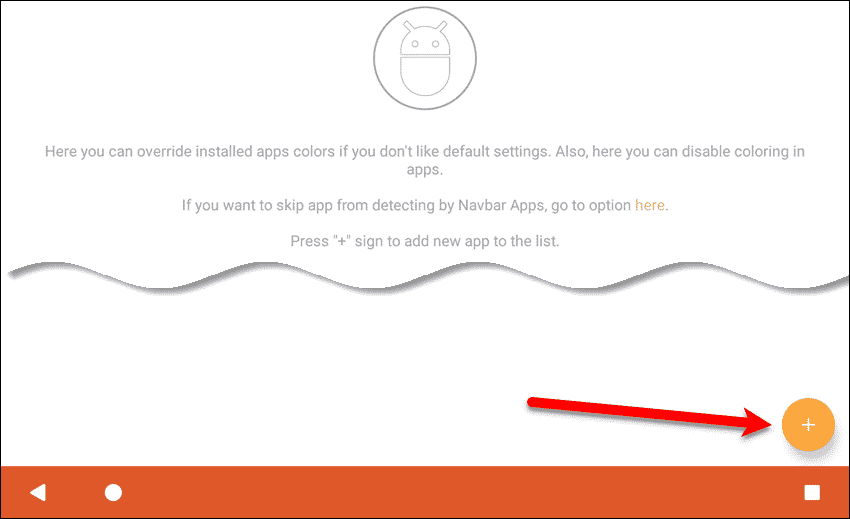
First, tap the plus icon to add an app to the list on the “Custom Colors” screen.
Just like the “Pick an app” dialog box on the “Disable apps from detecting” screen, start typing the name of an app in the search field. When the app you want is listed in the results, tap on it.
Once the app is added to the “Custom Colors” list, tap on the wrench icon.
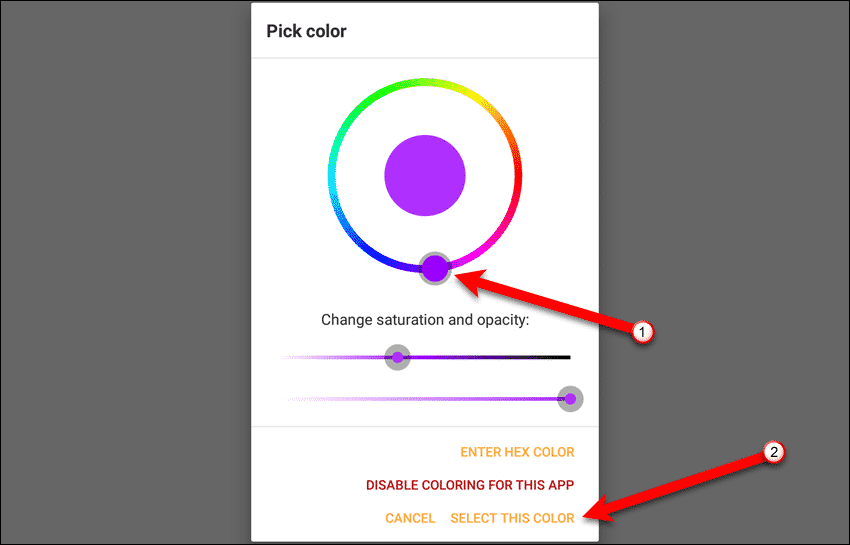
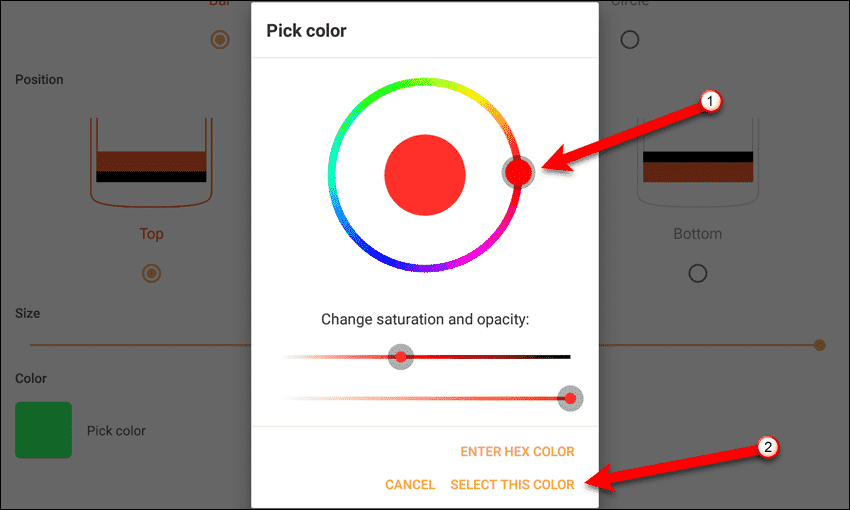
On the “Pick color” dialog box, select a color on the ring. You can either slide the selector around the ring, or tap on a location on the ring. Tap “Select This Color“.
The color of the icon next to the app changes to the color you chose.
Tap the back arrow to return to the main Navbar Apps screen.
Customize The Navigation Bar With a Static Color
If you want to customize the Navigation bar with a single, static color, no matter which app is currently active, make sure the “Change color of the Navigation Bar” slider button is on (it should be orange). Then, make sure “Static Color” is selected.
To select a “Static Color” tap the gear icon to the right of the that option.
On the “Pick color” dialog box, select a color on the ring. You can either slide the selector around the ring, or tap on a location on the ring. Tap “Select This Color“.
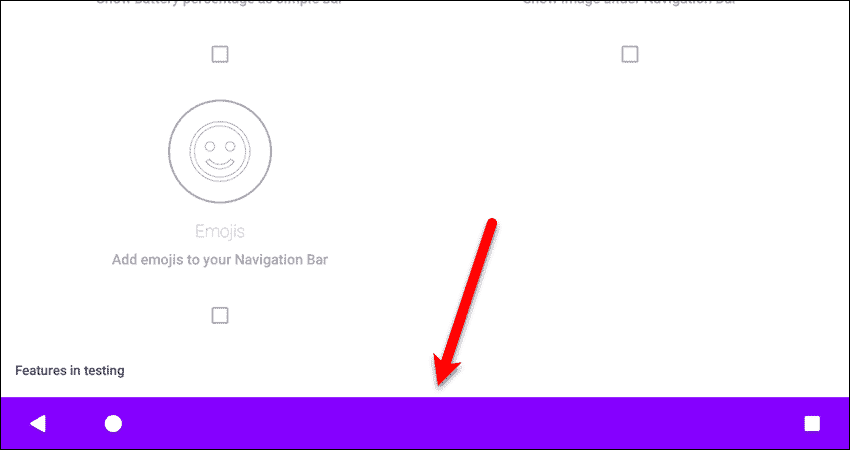
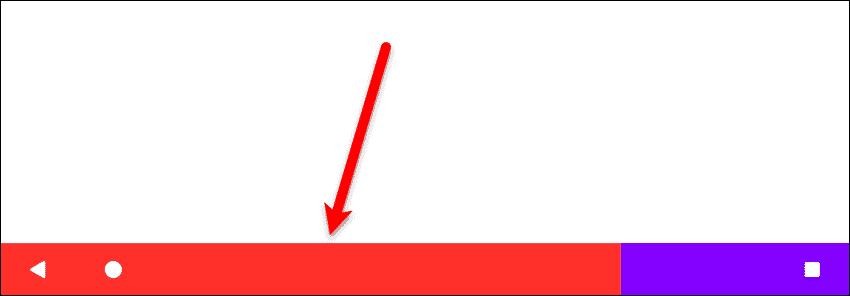
If you didn’t choose to disable the Navbar Apps, the color of the Navigation bar changes to the color you chose. It will remain this color even when you open other apps.
Customize The Navigation Bar With a Battery Indicator
To customize the Navigation bar with battery indicator, check the “Battery percentage” box to show this on the Navigation bar.
Tap the gear icon to the right of the that option to change the settings for “Battery percentage“.
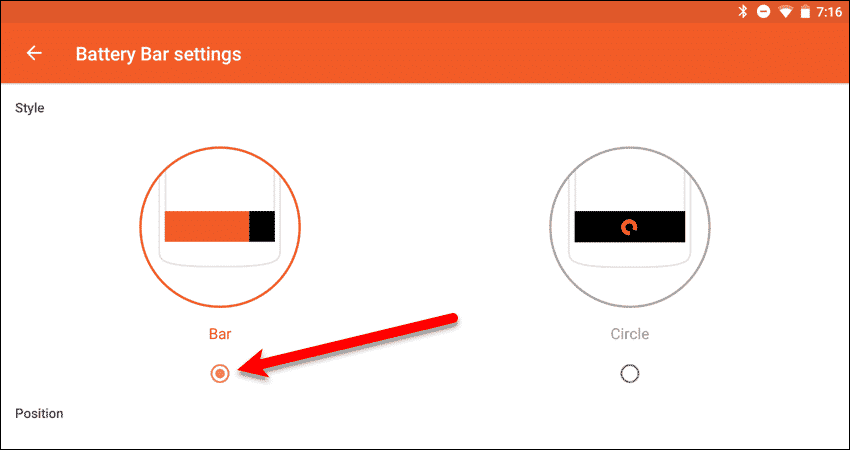
You can choose to display the battery percentage as a “Bar” or a “Circle“.
The “Circle” option is only available in the Premium version of the app, which is available as an in-app purchase for $0.99.
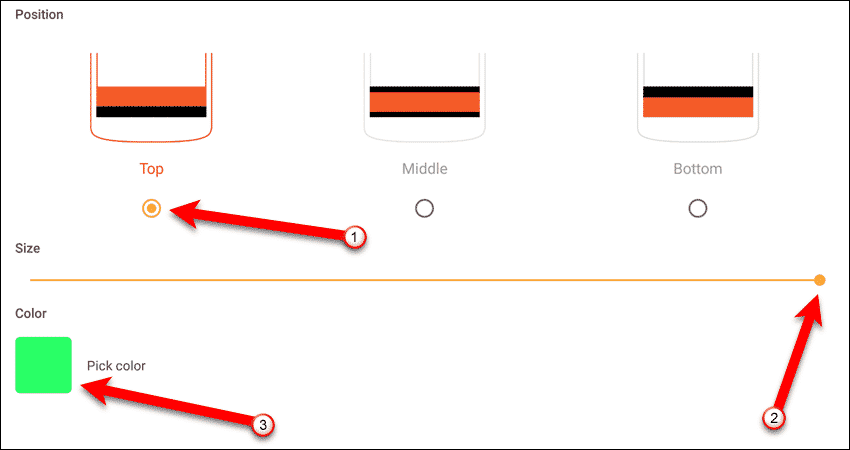
If you choose the “Bar” style for the battery percentage, you can choose its “Position” (“Top“, “Middle“, or “Bottom“) on the Navigation bar.
By default, the battery percentage bar takes up the entire height of the Navigation bar, so you won’t notice the change in position. Change the “Size” (height) of the battery percentage bar by either dragging the dot on the line, or by tapping on the desired location on the line.
To change the color of the battery percentage bar, tap the “Pick color” box under “Color“.
On the “Pick color” dialog box, select a color on the ring. You can either slide the selector around the ring, or tap on a location on the ring. Tap “Select This Color“.
If you didn’t choose to disable the Navbar Apps, you’ll see the battery percentage bar on the Navigation bar in Navbar Apps.
Customize The Navigation Bar With a Background Image
To customize the Navigation bar with a background image, check the “Image” box. Then, tap the gear icon to the right of the option.
Scroll through the images on the “Saved Images” tab and select one.
Shared Images are only available in the Premium version of the app.
Customize The Navigation Bar With Emojis
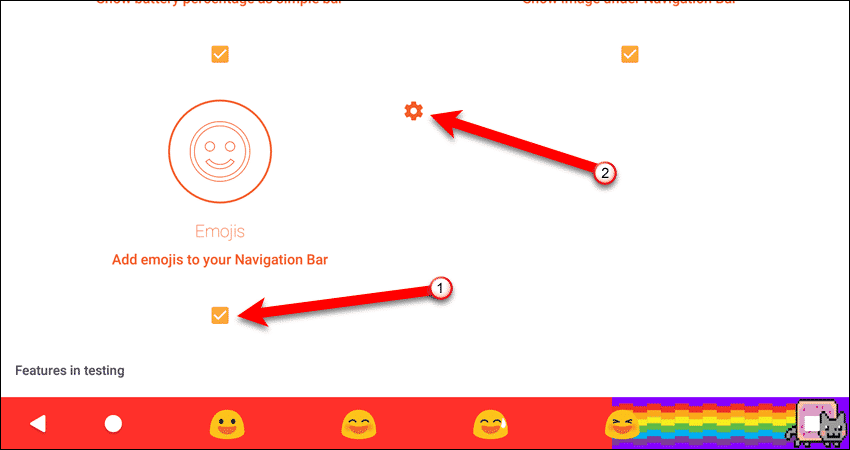
To customize the Navigation bar with emojis, check the “Emojis” box. Then, tap the gear icon to the right of the option to change the settings for the emojis.
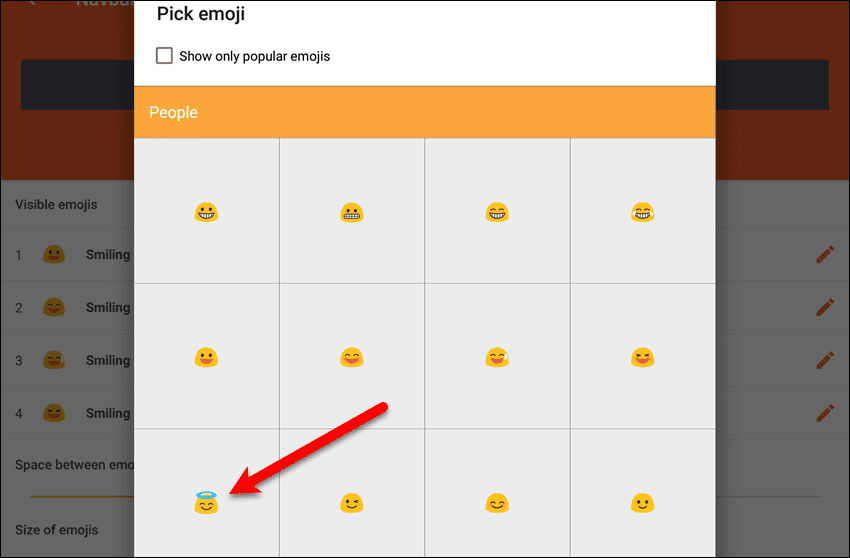
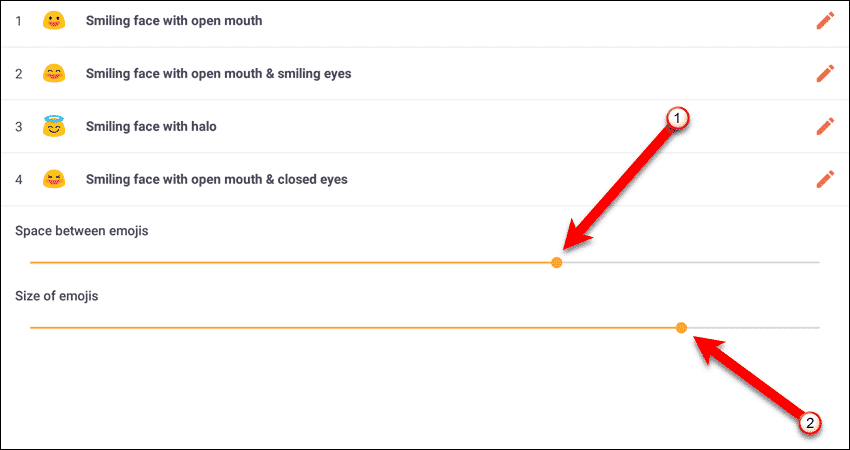
There are four emojis selected for you by default. However, you can select different emojis. To change an emoji, tap the pencil icon to the right of the emoji you want to change under “Visible emojis“.
Scroll through the “Pick emoji” dialog box to find an emoji you want to use from the many categories available. Tap on the emoji you want to use.
Adjust the “Space between emojis” using the slider bar. Drag the dot to increase or decrease the amount of space between the emojis.
Use the “Size of emojis” slider bar to make the emojis smaller or larger.
You’ll see the four emojis on the Navigation bar along with any other items you’ve added to the bar.
How did you jazz up your navigation bar? Which features of Navbar Apps did you use. Share your customizations with us in the comments.














the is no way to change color of the icons in the nav bar – why?