

You can’t write to your USB drive, which is frustrating. Don’t worry, you aren’t the only one. This is a common problem, but there are ways to fix it and get your USB device to stop stopping you from writing. In this detailed guide, we’ll show you how to fix your USB drive so that it will let you write data again. So let’s get started!
Table of Contents
What is The Write Protection?
Let’s take a moment to talk about what “write protection” means before we talk about how to fix the problem. Write protection, which is also called “write-blocking,” is a security feature that keeps data on a USB drive from being changed.

It is used to protect important data and stop it from being deleted or changed by accident. But write protection can be a problem, especially if you need to add, change, or delete files on the USB drive.
How to Remove Write Protection On USB?
Method 1: Checking Physical Write Protection Switch
Some USB drives have a small lock or button on the side or back that can be used to stop the drive from being written to. You can turn write protection on or off with this switch. First, look at your USB drive and see if it has any keys or buttons that say “lock,” “write protect,” or “read-only.” If you find one, make sure it’s open so the write protection can be removed.
Method 2: Use the Windows DiskPart Utility
The DiskPart app can be helpful for Windows users who want to remove write protection from a USB drive. Here’s how you should use it:
- Connect the USB drive to your computer that won’t let you write to it.
- To start the Command Prompt, press Win + R to bring up the Run box, then type cmd and press Enter.
- To start the DiskPart tool, type diskpart into the Command Prompt window and press Enter.
- Type list disk and press Enter to see a list of all the disks that are connected to your computer.
- Find out what your USB drive’s file number is and write it down.
- Type pick disk X, where X is the number of the disk on your USB drive, and hit Enter.
- Type the command properties disk clear readonly and press Enter to remove the write protection from the USB drive.
- Close the Command Prompt window and make sure that the write protection has been turned off.
Method 3: Using Terminal (macOS)
Mac users can turn off the write protection on a USB drive by using the Terminal tool. Here’s a step-by-step guide:
- Connect the USB drive to your Mac that won’t let you write to it.
- Start the program Terminal. It is in the Applications folder, in the Utilities folder.
- In the Terminal window, type diskutil list and press Enter to see a list of all the connected drives.

- Find your USB drive’s disk number and write it down.
- Type diskutil info diskX, where X is the number of your USB drive, and press Enter.
- Find the Writable field in the data. If it says “No,” you can’t write on your USB drive.
- Type sudo diskutil disableOwnership /dev/diskX (where X is the name of the disk) and press Enter to turn off write protection.
- When asked, type in your user password, and the Terminal will open the USB drive so you can write to it again.
- Try writing something to the USB drive to see if the write protection has been removed.
Method 4: Change the Settings of the Windows Registry
Users of Windows can change some settings and remove write protection from a USB drive by using the Registry Editor. What you have to do is:
- When you press Win+R, the Run box will appear. When you type regedit and hit Enter, the Registry Editor will open.
- Find the way below: HKEY_LOCAL_MACHINE\SYSTEM\CurrentControlSet\Control\StorageDevicePolicies

- If you don’t see the “StorageDevicePolicies” key, right-click the “Control” key, choose New, and then choose Key. The name of the new key should be “StorageDevicePolicies.”
- Right-click on the “StorageDevicePolicies” key, click “New,” and then click “DWORD (32-bit) Value.” The name of the new number should be “WriteProtect.”
- Double-click on the “WriteProtect” number and change its number data to 0 to turn off the write protection.
- Close the Registry Editor, then turn your computer back on.
- Check to see if the USB drive’s write protection has been removed after the restart.
Method 5: Formatting the USB Drive
If none of the above ways work, you can remove write protection by formatting the USB drive. But keep in mind that formatting will remove everything on the drive. Here’s what you need to do to format the USB:
- Connect the USB stick to your computer.
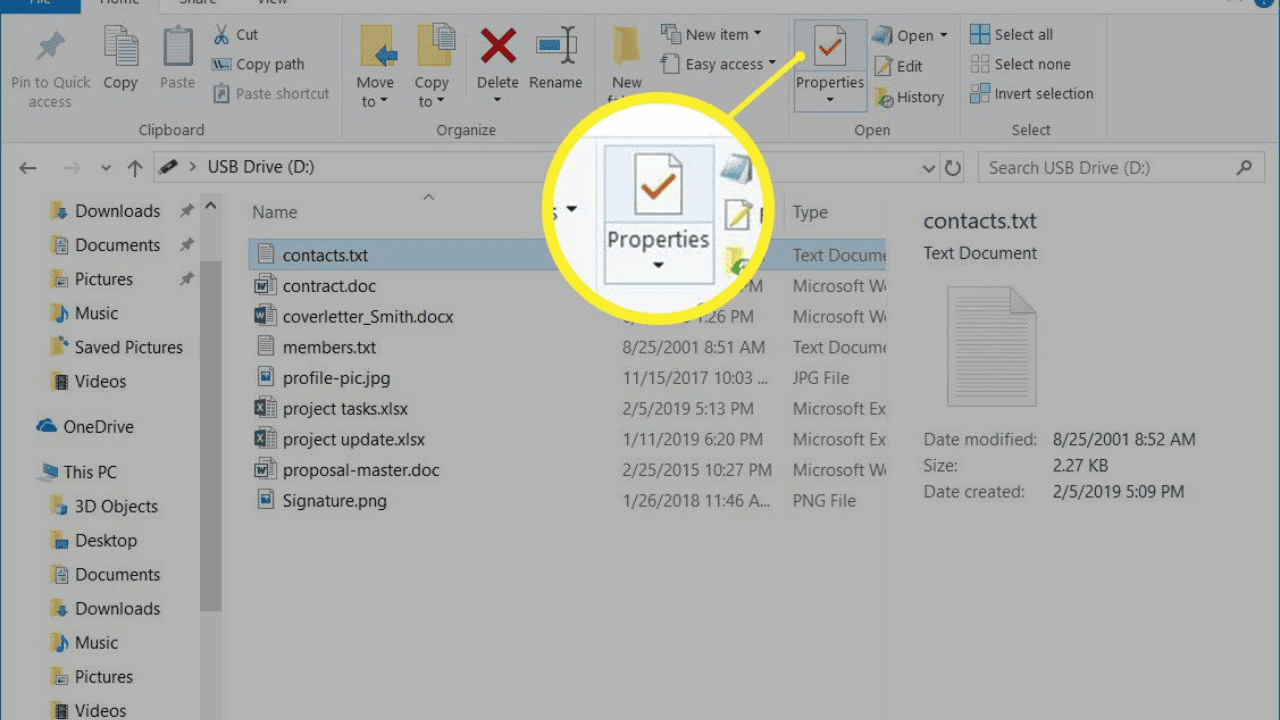
- Open the File Explorer app on Windows or the Finder app on macOS and look for the USB drive.
- When you right-click on the USB drive, choose Format (Windows) or Erase (macOS).
- Choose the file system you want, like FAT32 or exFAT, and give the drive a name.
- Click Start (on Windows) or Erase (on macOS) to start formatting.
- Once the USB drive has been formatted, the write protection should no longer be on.
Conclusion
When a USB drive won’t let you write to it, it can be annoying, but with the right steps, you can get that ability back. In this article, we talked about several ways to do this, such as checking for physical write protection switches, using tools like DiskPart and Terminal, changing registry settings, and formatting the USB drive.
Be careful with your USB files and always remove them from your computer in a safe way to avoid problems. If you follow the steps in this guide, you should be able to remove the write protection from your USB drive and get everything back to normal.
Remember that it’s important to keep your important data safe by backing it up often to avoid any loss or trouble. For more detailed help or troubleshooting, it’s best to look at the official paperwork that came with the USB drive or call the company’s customer service. Remove the write protection from your USB drive today so you can easily work with your files and data.