

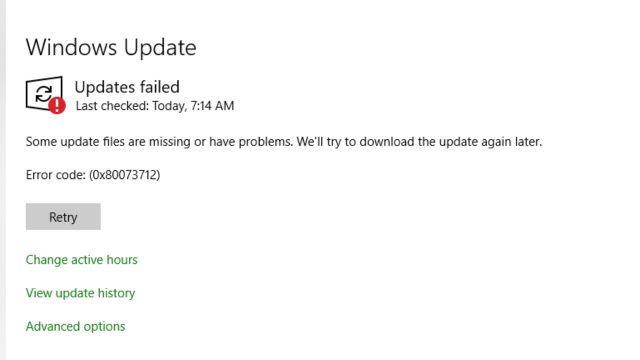
On Windows 10 and Windows 11, you may get the problem 0x80073712 after installing the operating system on your device. Rest assured, you are not the only one experiencing this.
Since it seems like your machine is having trouble installing the most recent update, this could lead to some issues.
Thankfully, there is a fix for this, and you can learn how to solve it by reading the guide that is placed a few rows below.
So please come along as we analyze the common causes of this problem and all of its possible fixes in more detail.
Table of Contents
What Causes the Update Error 0x80073712 to Show Up?
This error message typically shows up when one of the system’s components is compromised. It’s not usually easy to resolve this problem because you have to fix the damaged files.
You can try a few different programs, but if none of them work, you’ll need to completely reinstall Windows in order to resolve the issue.
This error message can occur in all versions because it’s a rather common problem. Because Windows 11 is the most recent version, it is the main topic of this article. With a few small adjustments, all of the methods in this tutorial will function with Windows 10 and older.
How Can the Error Code 0x80073712 Be Fixed in Windows 11?
Here are some methods to solve the 0x80073712 Error in your windows:
1. Troubleshoot Your Computer
- Download the troubleshooter for Windows updates.
- On your computer, save the file and run it.
- After choosing Windows Update, press the Next button.
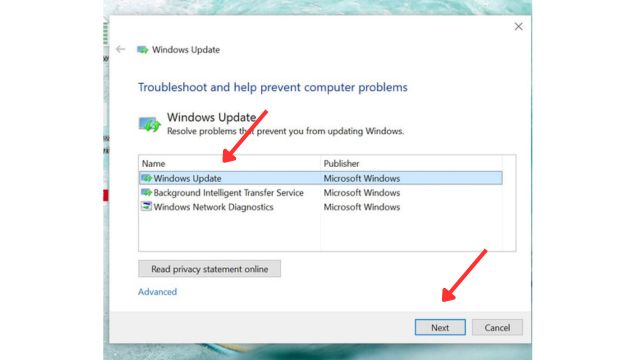
- Hold off until the procedure is over.
2. Execute a DISM Scan
- To access the Windows Terminal (Admin) menu, use the Windows key + X.
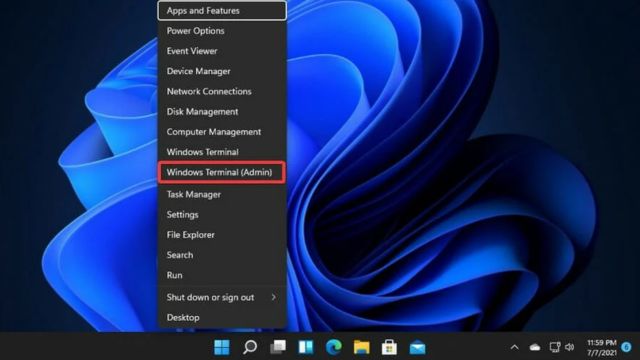
- The Command Prompt window will appear; you must type the following line in it:
DISM.exe /Online /Cleanup-image /Scanhealth
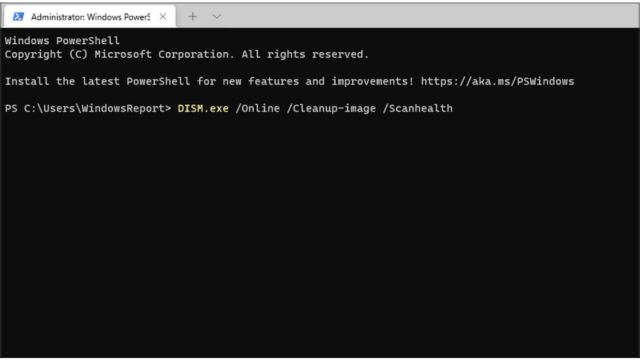
- To complete the process, hit the Enter key on the keyboard and wait.
- Type the following line into the command prompt window:
DISM.exe /Online /Cleanup-image /Restorehealth

- Press the Enter key and let the procedure finish
- Shut down the Terminal and reboot your computer
3. Reset Your Computer
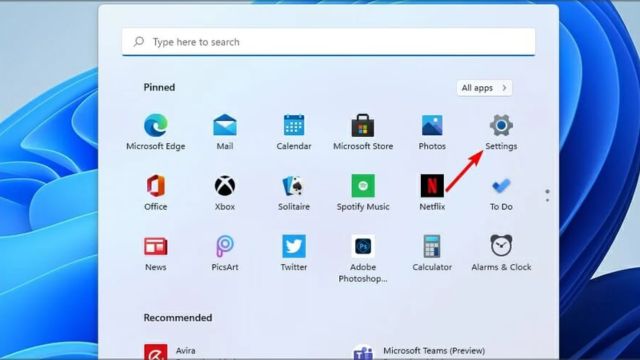
- Choose Settings by clicking the Start button
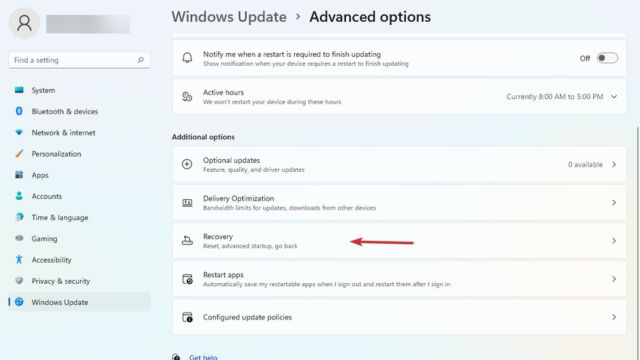
- Choose Recovery from the panel on the right
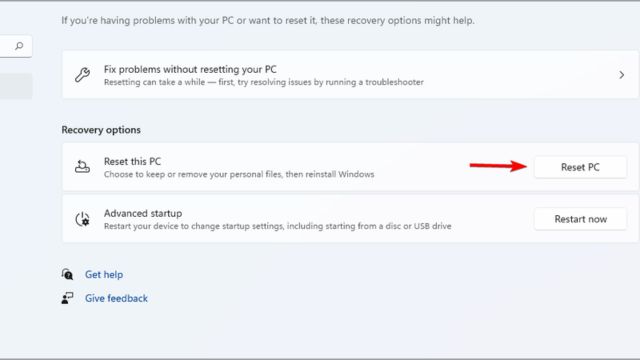
- Select the option to Reset PC
- Choose Keep my files
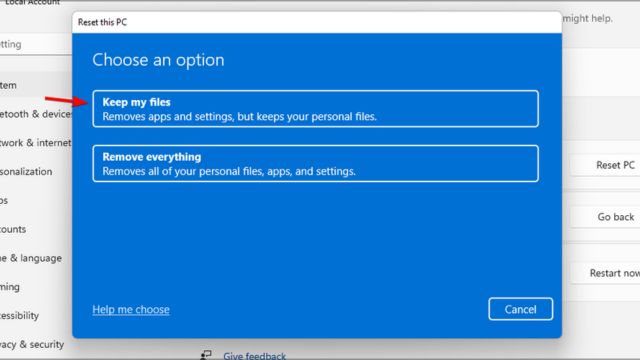
- Now Choose Local reinstall
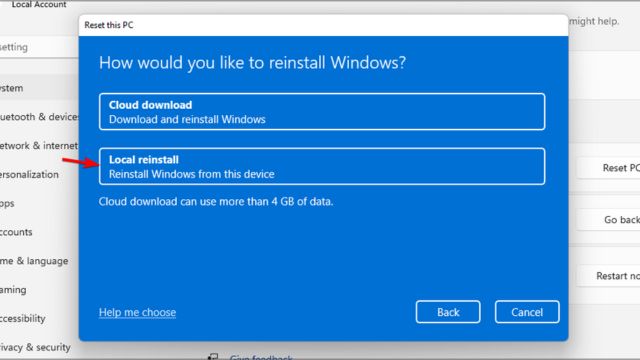
- To finish the process, follow to the directions displayed on the screen.
How to Solve the Update Error Code 0x80073712 in Windows 10?
You can solve the update error in window 10 by following the mentioned steps:
1. Restart the Windows Update Service
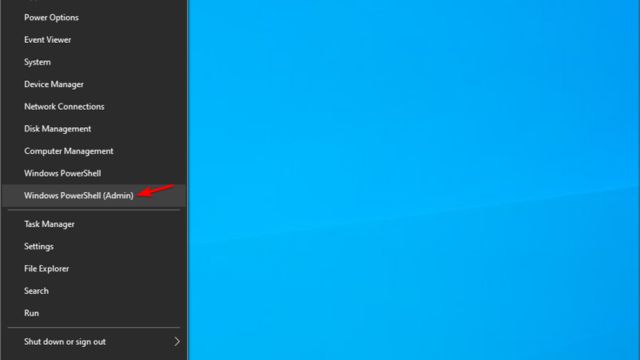
- To access Windows PowerShell (Admin), press the Windows key + X.
- Execute the following commands:
net stop bits
net stop cryptscv
net stop wuauserv
net stop msiserver
Ren C:\Windows\SoftwareDistribution SoftwareDistribution.old
Ren C:\Windows\System32\catroot2 Catroot2.old
net start bits
net start cryptscv
net start wuauserv
net start msiserver
2. Manually Download the Update
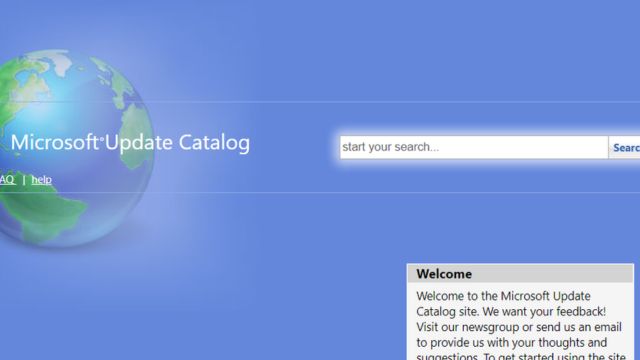
- Go to the Microsoft Update Catalog website.
- Enter the update’s KB number that you are unable to download in the search box.
- Select the update that is compatible with the hardware configuration of your computer by clicking the Download button.
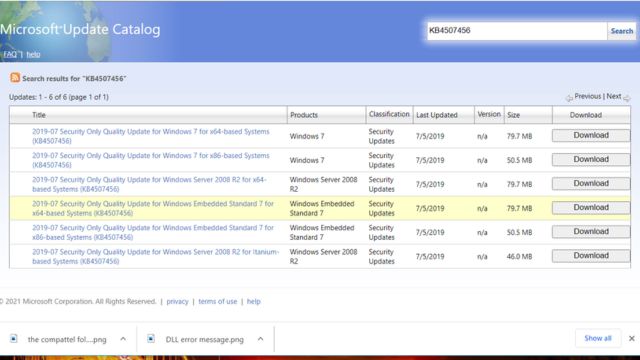
- Run the downloaded file to install the update after the download is complete.
What Effects Does My Pc Have From the Update Error 0x80073712?
This error message will stop you from getting updates for Windows. This may pose an issue for various reasons. First of all, your computer may become subject to malware and exploits as you won’t be receiving security updates.
Second, you won’t be able to get feature upgrades and bug fixes, which means you’ll be stuck with whatever flaws your operating system currently has.
Follow our simple guide on to fix this common issue. Learn the steps to troubleshoot, run scans, and get your PC back on track. Stay secure and updated with our helpful solutions on our website!