

RustDesk and Tailscale: Self-Host a Free TeamViewer Replacement in 4 Steps

You can replace your paid TeamViewer subscription with a free, open-source remote desktop solution by self-hosting RustDesk and connecting to it securely via Tailscale. This method requires the latest versions of RustDesk and Tailscale, along with Docker Desktop for server setup.
Table of Contents
Replacing TeamViewer with Open-Source Tools
After years of relying on TeamViewer for remote access, a more cost-effective and self-managed solution was found. This involved replacing the paid subscription with RustDesk, an open-source remote management tool that allows for self-hosting. This approach offers greater control over your data and connections.
RustDesk is a versatile open-source remote desktop client compatible with multiple operating systems, including Windows, Linux, macOS, and Android. For secure and simplified remote connectivity, Tailscale, a zero-config VPN-based tool, was integrated into the setup.
This combination addresses the limitations of relying solely on public servers, such as potential bandwidth issues and mandatory third-party sign-ins. Self-hosting RustDesk with Tailscale ensures that all traffic remains on your managed hardware and connections are direct and secure.
Self-Hosting RustDesk
To run your own RustDesk relay and ID server, you can utilize Docker. This ensures that all your remote desktop traffic remains on hardware you control. The setup involves deploying two specific containers for the server functionality.
You will spin up two containers: hbbs, which acts as the ID server, and hbbr, which functions as the relay server.
Once these are running, you point your RustDesk clients to your server’s IP address. If you are already familiar with Docker, setting up the server side of RustDesk is a relatively quick process.
It is crucial to back up the data folder used by these containers. If the containers are rebuilt without preserving this folder, a new keypair will be generated, necessitating the reconfiguration of every connected client with the new key.
Connecting Remotely with Tailscale
The challenge of accessing a self-hosted RustDesk server from outside your local network was resolved by implementing Tailscale. This mesh VPN service creates a private network for all your devices, regardless of their physical location.
By layering Tailscale on top of the self-hosted RustDesk server, you can access your home PC from various locations, such as a coffee shop, hotel, or even using a mobile hotspot, without needing to open any ports on your router. This means your home network remains secure and locked down.
Since both the client and server endpoints are reachable via Tailscale, direct, encrypted connections are established. This eliminates the need for complex port forwarding configurations on your router, which can also be unreliable if your ISP uses CGNAT.
Step-by-Step Setup Guide
The setup for remote access using RustDesk and Tailscale involves three main stages: getting the RustDesk server running via Docker, installing Tailscale on all involved machines, and finally, configuring the RustDesk clients to connect to your server’s Tailscale IP address.
You will need Docker Desktop installed and running on the machine designated to host the server. Administrator access is required on all machines that will participate in the remote access setup. Additionally, you need a Tailscale account, which is free for personal use.
On the machine designated as your server, you will begin by opening PowerShell as an administrator and creating a dedicated directory for the project. This directory will house the necessary configuration files for your RustDesk server.
1. Set up the RustDesk Server with Docker
Create a docker-compose.yml file within the project directory. This file defines two services: hbbs (the ID server) and hbbr (the relay server). Both containers will share a data folder for storing encryption keys.
For Windows with Docker Desktop, use explicit port mappings. You will need ports 21115 through 21119 on TCP and port 21116 on UDP. Confirm that both hbbs and hbbr containers are running by executing docker compose ps.
Back up the data folder created by Docker. This folder contains your server’s encryption keys. If this folder is lost or not preserved during container rebuilds, you will need to reconfigure all clients with a new keypair.
2. Install and Configure Tailscale
Download and install Tailscale on the server machine and on every computer you intend to connect to or from. After installation, sign in to each device using the same Tailscale account. You can do this via the tray icon or by running tailscale up in a terminal.
Once all machines are signed in, they will be able to communicate using their unique 100.x.x.x Tailscale IP addresses. Verify connectivity by running tailscale status on any machine to see all joined devices. You can also ping a machine’s Tailscale IP from another device to confirm they can exchange traffic.
Obtain the server’s specific Tailscale IP address by running tailscale ip -4 on the server machine. This IP address will be used in the RustDesk client configuration on all your devices.
3. Configure RustDesk Clients
Download the RustDesk client from rustdesk.com and install it on every machine that will be used for remote access. This includes the server machine itself if you plan to use it as a controller.
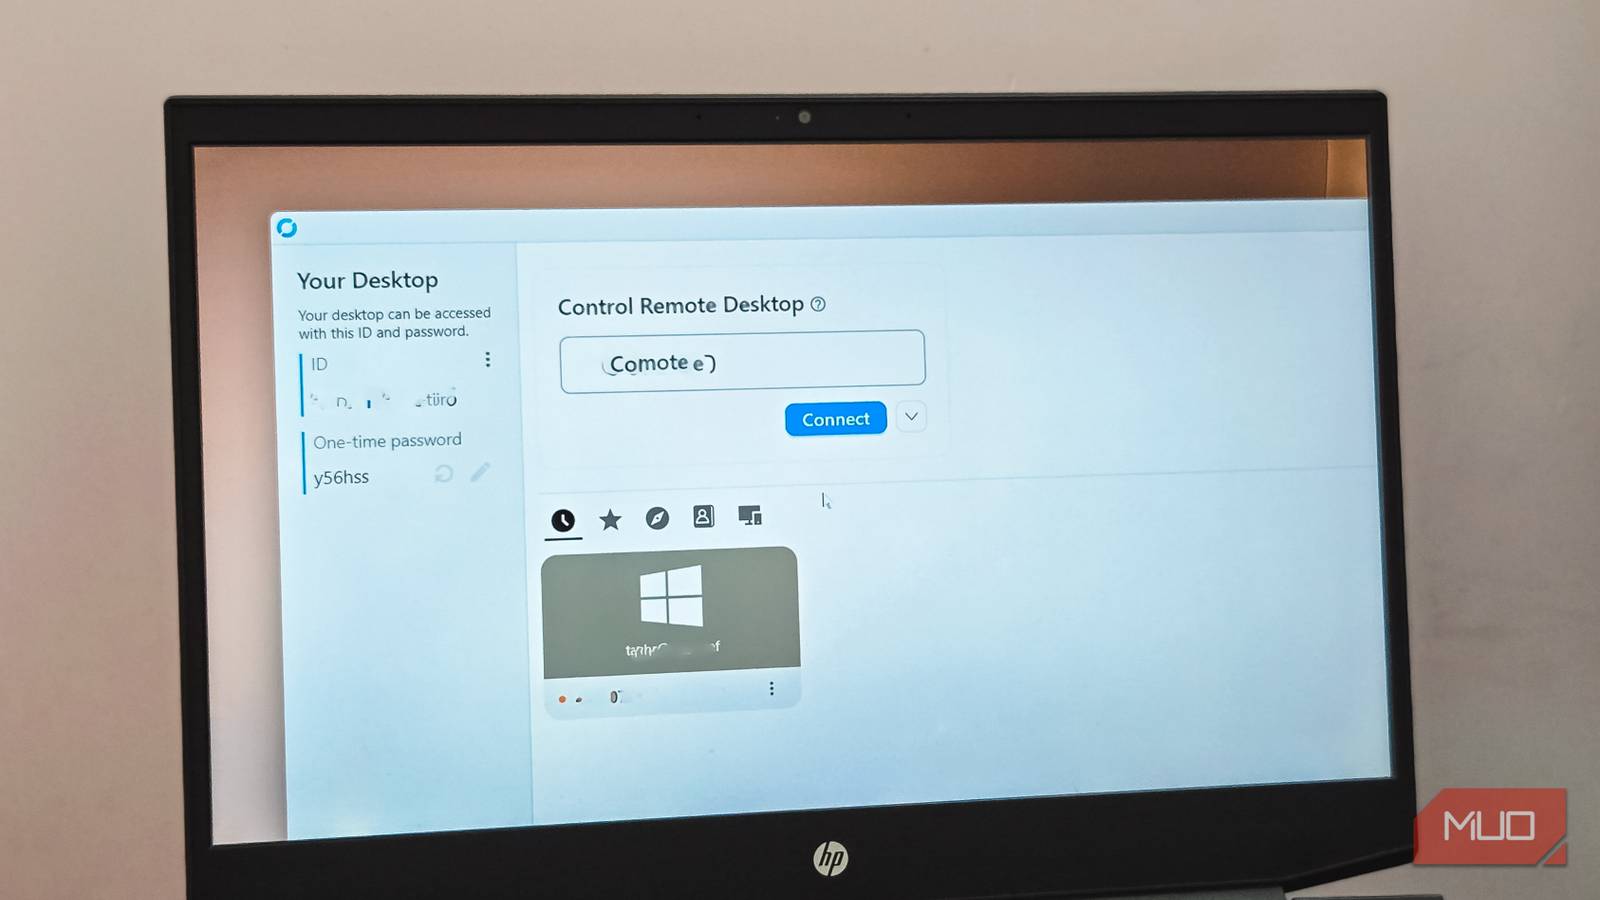
On each RustDesk client, navigate to the settings. You will need to enter your server’s Tailscale IP address in the “Control Remote Desktop” field. Ensure you are using the correct Tailscale IP obtained in the previous step.
For unattended access to a machine, go to Settings > Security, unlock the security settings, and set a permanent password. This allows you to connect without requiring manual approval on the remote end, making it convenient for accessing your home PC while away.
4. Test Your Remote Connection
To confirm the setup, try connecting from a network outside your home. Switch your laptop to a mobile hotspot or connect to a different Wi-Fi network. If the remote session opens successfully without any changes to your home router configuration, the setup is working as intended.
On the machine you want to connect to, note the RustDesk ID displayed on its main screen. On the machine you are connecting from, enter this ID into the “Control Remote Desktop” box and click “Connect.” Then, enter the password you set up for access.
The final verification involves testing the connection from an external network. If the session initiates and establishes without needing to configure your home router, your self-hosted RustDesk server is successfully accessible via Tailscale.
Frequently Asked Questions
Can I use RustDesk without a self-hosted server?
Yes, you can use RustDesk with its public relay servers. However, these shared servers may offer limited bandwidth and can sometimes result in sluggish connections. For better performance and control, self-hosting is recommended.
Does Tailscale require port forwarding?
No, Tailscale creates a secure mesh VPN that allows devices to connect directly using their private Tailscale IPs. This eliminates the need for port forwarding on your router, enhancing your network’s security.
Is the free tier of Tailscale sufficient for personal use?
Yes, the free tier of Tailscale supports up to 100 devices, which is ample for most personal remote access needs, including managing multiple computers and mobile devices.
What operating systems does RustDesk support?
RustDesk is designed to be cross-platform and supports Windows, Linux, macOS, and Android, allowing you to manage remote desktops across various devices.
What happens if I lose the RustDesk server’s data folder?
If you lose the RustDesk server’s data folder, a new keypair will be generated when the containers are rebuilt. This will require you to reconfigure every RustDesk client with the new key to re-establish connections.
