If you have a Gigabyte chip and want to make your computer safer, you need to turn on Secure Boot. Secure Boot is a security standard that stops software from starting up with a computer that might not be safe.
When this is in place, malicious software and rootkits can’t do as much damage to the system. If you want to switch to Windows 11, you need to make sure that the device can use Secure Boot, but you don’t have to turn it on. But if you turn it on, it will add an extra layer of protection to your machine.
The Secure Boot is easy to turn on in the BIOS of Gigabyte devices with UEFI software. But you may need to turn off the Compatibility Support Mode (CSM) since Secure Boot won’t work with the Legacy BIOS.
Table of Contents
What is Secure Boot?
Microsoft made the Secure Boot security standard to make sure that a device will only start up with software that the maker knows and trusts. This helps protect against malware and other security threats.
It prevents illegal software from starting up during the boot process. During the starting process, Secure Boot checks the digital signature of every piece of software that is loaded. If you don’t believe the signature, the software won’t run.
Why Should You Enable Secure Boot on Gigabyte Motherboards?
By turning on Secure Boot on your Gigabyte motherboard, you can stop rootkits, boot kits, and other types of malware from getting into the boot process and harming your system. Secure Boot is important if you use your computer for work or personal chores since it adds another layer of security to your system.
Preparations Before You Enable Secure Boot in Gigabyte
Check the Status of the Secure Boot
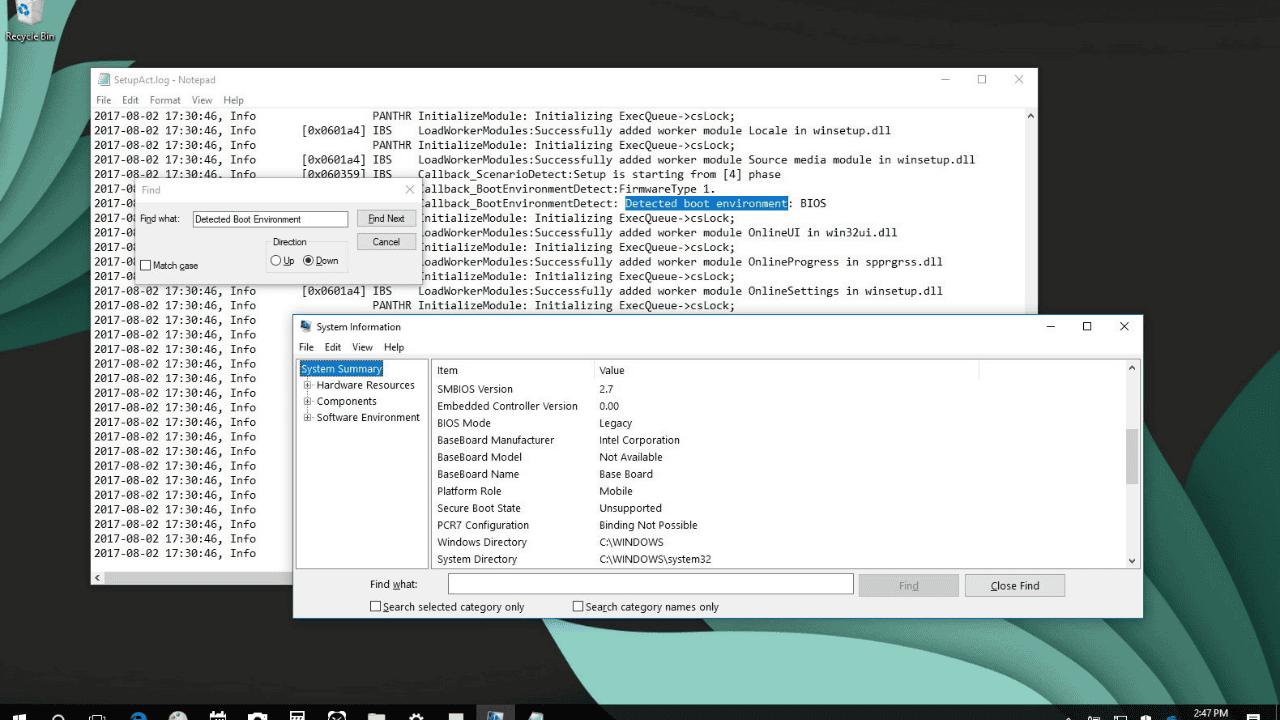
Some UEFI computers may have had their safe boot turned off so that Linux or older versions of Windows could be installed. On Windows, you can check the System information to see if the protected boot is on or off.
- Press the Windows Key + R, then type msinfo32
- Then press the Enter key.
- This will open the window with information about the computer.
- You can find the Secure Boot State under System Summary. If it says “disabled,” then Secure Boot is not being used.
Check if there is a GPT Partition
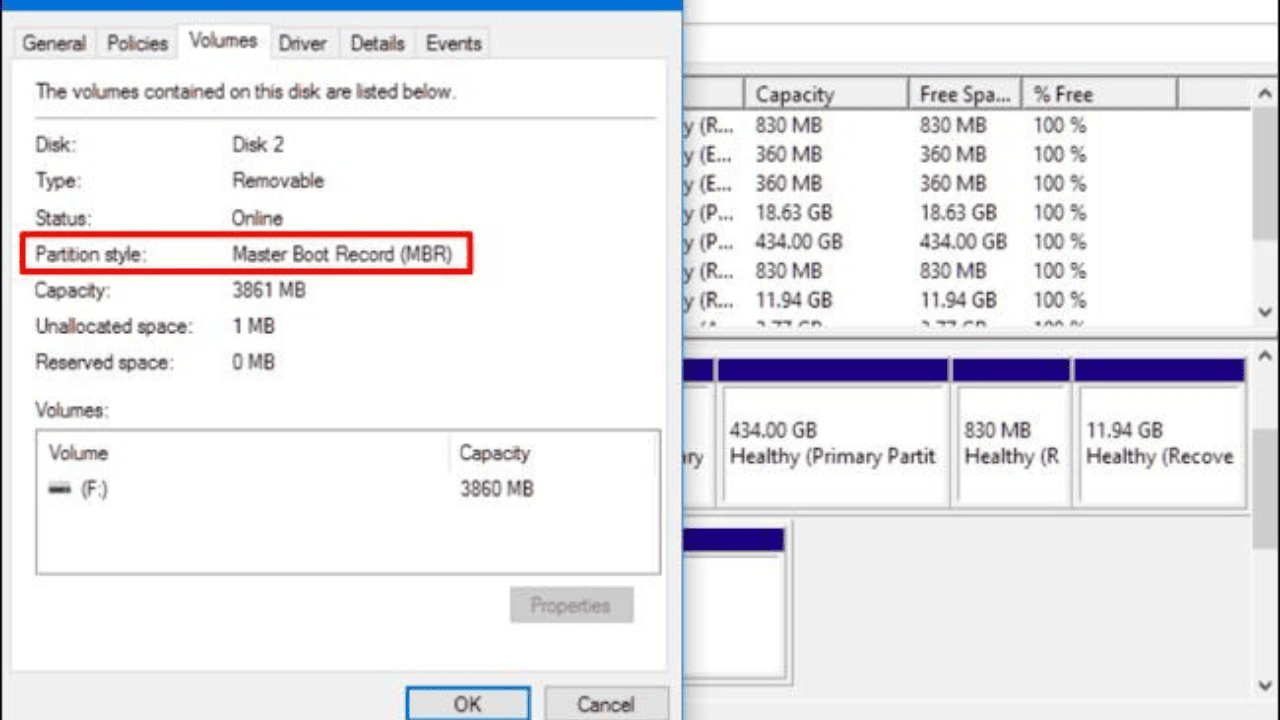
The United Extensible Firmware Interface (UEFI) firmware has a feature called “secure boot.” UEFI doesn’t start up from disks with a Master Boot Record (MBR) part like the old BIOS did. Only disks that are partitioned with a GUID Partition Table (GPT) will work with the UEFI.
- Make sure that your device’s disk is a GPT drive before you turn on safe boot.
- To open Disk Management, press the Windows Key + X.
- Select Properties by right-clicking on the Disk.
- Click the tab called “Volumes.”
- Make sure that the Partition style box is set to GUID Partition Table (GPT).
Here’s how to change from the Master Boot Record (MBR) style to the GPT style. Before you start the move, make a copy of everything on the MBR disk. The process will remove everything on the disk, such as any partitions or folders.
- Open the Command Prompt as an administrator.
- Enter diskpart and hit enter.
- Now enter List disk. This tool will show you all of your computer’s disk files.
- Write down what you want to change and how much.
- Then you need to type “write select disk 0.” Disk 0 is the one we want to change.
- Change it to the name of the disk that you wrote down earlier.
- Now pick up. All of the files on the disk will be erased.
- The last step is to type “convert GPT” and hit the Enter key.
Check for UEFI Support
The newer UEFI software has a security feature called “Secure boot” which the older BIOS firmware doesn’t have. So, the next thing you should do is check to see if UEFI is set as the BIOS mode on your Windows machine.
- Open Run, type msinfo32
- Then press Enter to start the System Information.
- The BIOS mode can be found in the System report. You can turn on Secure Boot if UEFI is there.
Enabling Secure Boot on Gigabyte Motherboards
Secure Boot is easy to turn on with Gigabyte processors, but the steps may be slightly different depending on the model. Here are the most important steps to take:
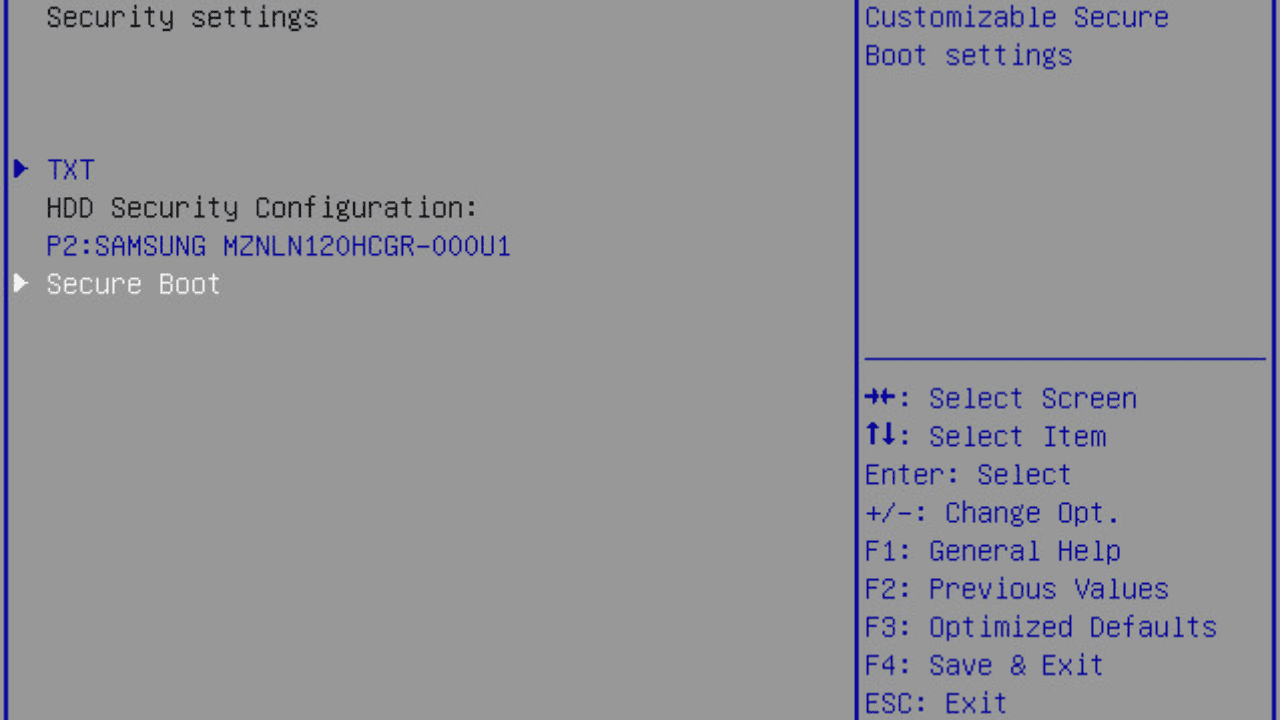
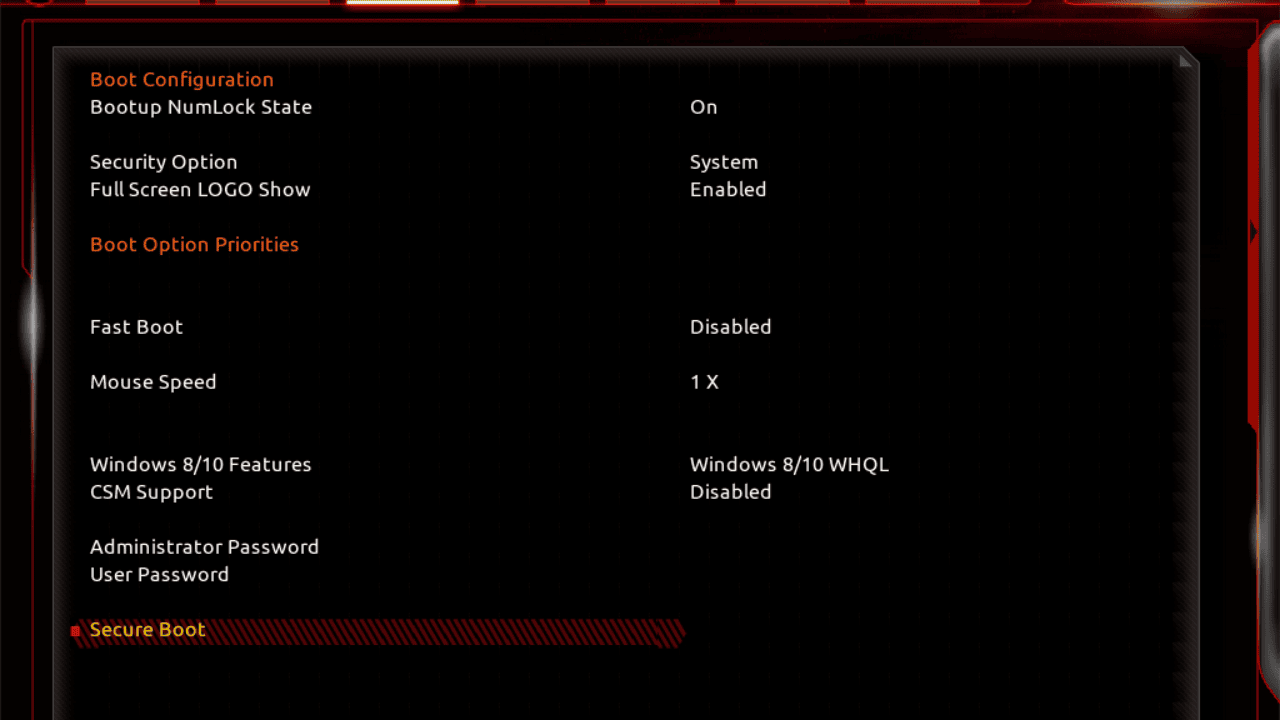
- To get into the BIOS setup, press the “Delete” key or whatever key your computer tells you to press during starting.
- To get to the “Security” or “Boot” tab, use the arrow keys.
- Use the arrow keys to find the “Secure Boot” option and select it.
- Change the Secure Boot setting from “Disabled” to “Enabled.”
- To save and leave the BIOS changes, press “F10” or the key your computer tells you to press.
All done! Secure Boot is now set up on your Gigabyte chip.
Secure Boot Problems on Gigabyte Motherboards and How to Fix Them?
If you are having trouble with your Gigabyte computer after putting on Secure Boot, try these things:
- Check to see if your operating system supports Secure Boot if you can’t get into it after turning on Secure Boot. If that doesn’t work, you might need to turn off Secure Boot or use a different system that does work.
- After turning on Secure Boot, if you can’t get into the BIOS settings, remove the CMOS battery or use the jumper on your motherboard to restart the CMOS.
- Check the directions for your Gigabyte computer if you’re having other problems, or call Gigabyte support for more help.
Conclusion
Turning on the Secure Boot is one of the most important things you can do to make your Gigabyte gear better. By turning on Secure Boot, you can protect your system from different security risks and make sure that only approved software loads during the start process.
By following the steps in this guide, you can quickly make your Gigabyte motherboard safer to use by turning on Secure Boot. Use a good antivirus tool and make sure your device has the latest security updates to keep it even safer.


