

How to Install Windows on a Mac? Running Windows on a Mac can cause programming clashes. That is the reason you might need to actually take a look at your Mac for obsolete applications first.
So here’s a tip: Download a free form of CleanMyMac to find your obsolete foundation applications. You will know the number of undesirable applications you have and how much garbage they contain. Presently, we should actually look at more thoughts and arrangements
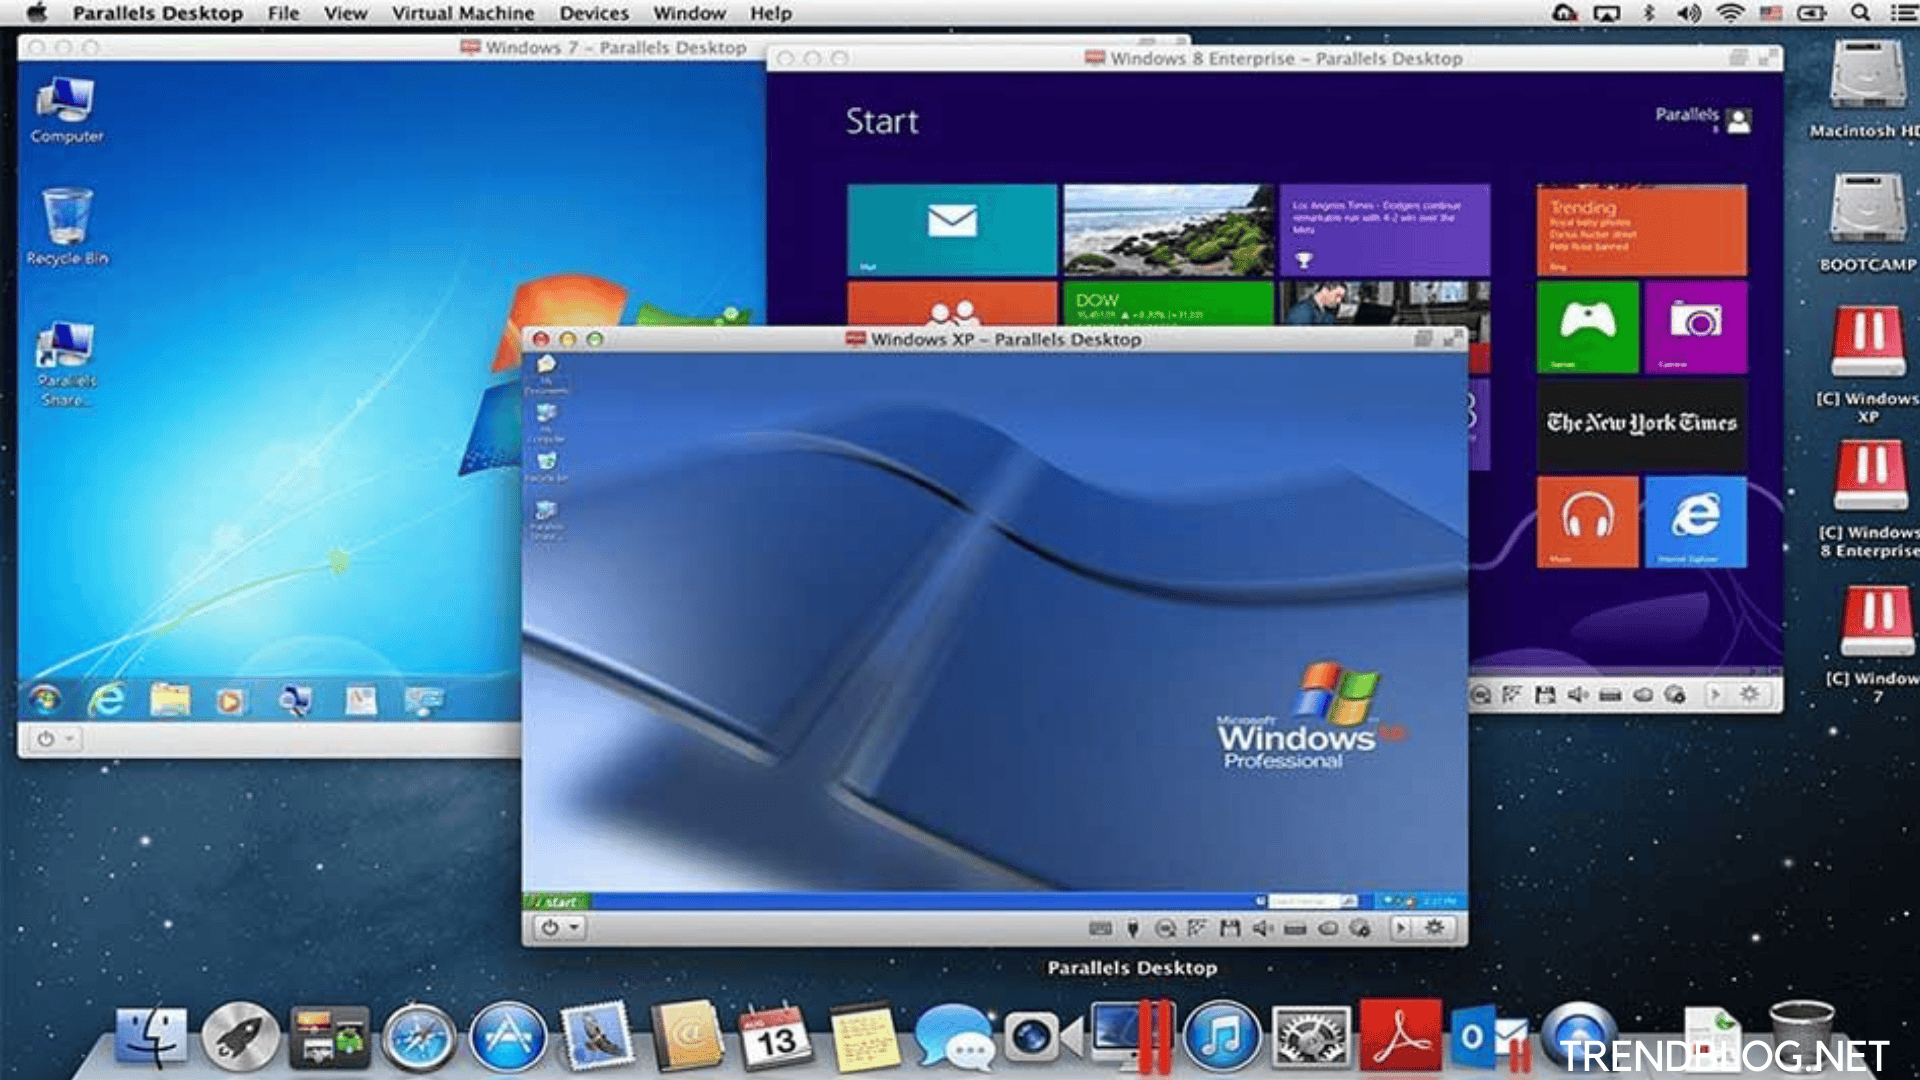
Macintosh versus Windows. Windows versus Mac. Why pick on the off chance that you can defeat the two universes by double booting? Introduce Windows on Mac so you can bounce this way and that starting with one working framework then onto the next on a similar PC.
Table of Contents
How to Install Windows on a Mac
At this point, the training is deep rooted and Windows can chip away at Mac well. In this article, we’ll have a profound glance at introducing Windows on Mac. You can definitely relax, we’ll have your back the entire way through!

Training camp for Mac versus virtualization programming
To introduce Windows on your Mac, you have two choices. You can either utilize Mac Boot Camp, a local element of the macOS working framework, or you can utilize an outsider virtualization program. The two techniques have their own upsides and downsides, so we should make a plunge.
Training camp is incorporated into the working arrangement, everything being equal. Assuming you go to your Applications > Utilities organizer, you’ll see the Boot Camp Assistant application. It makes the different segment on your hard drive for introducing and running Windows. Whenever Windows is introduced in Boot Camp, each time you turn on your Mac, you will be approached to pick the working framework you need to run. This intends that to change from macOS to Windows, you really want to reboot your PC.
Advantages of How to Install Windows on a Mac
incorporated into your working framework
simple to utilize – Boot Camp Assistant aides you through the establishment interaction
puts less strain on your Mac’s memory and handling power
totally free (not Windows obviously)
simple to refresh
Disadvantages of How to Install Windows on a Mac
Do you really want to reboot your PC to switch between the frameworks
It isn’t difficult to move information between working frameworks
Virtualization programs are outsider applications that permit to introduction a different working framework on one machine. They run like some other application on your Mac, so you can see the whole Windows work area inside a window on your PC.
Among the most famous virtualization programs are VirtualBox, Parallels, and VMware. Everyone has their quirks, yet we’ll attempt to summarize what they share practically speaking.
Advantages
You can run both working frameworks simultaneously simple record joining between frameworks
Disadvantages
Do you really want somewhere around 8 GB of RAM for Mac to easily run virtualization applications are not modest refreshes are not free
Contingent upon your particular necessities, you can pick the choice that turns out best for you. Yet, we propose utilizing Boot Camp. It’s a free local component of your working framework, running straightforwardly on your equipment. Thusly, it will be quicker than some other strategy. What’s more, underneath, you’ll track down all data on the most proficient method to run Boot Camp on your Mac.

The most effective method to utilize Boot Camp: Preparing your Mac
1. Really take a look at the framework prerequisites
A few forms of Windows require a specific processor and more hard drive space than the others. Along these lines, you need to check the documentation that accompanied your duplicate of Windows to realize what you really want.
You likewise need to ensure that your Mac is viable with the form of Windows you need to introduce. For example, Windows 10 is upheld on these models:
MacBook (2015 and later)
MacBook-Pro (2012 and later)
MacBook-Air (2012 and later)
iMac (2012 and later)
Macintosh Mini (2012 and later)
2. Tidy up your hard drive
You want to have no less than 55 GB of free circle space on your startup drive for introducing Windows on a Mac. What’s more, in the event that you don’t want to go through the following a few hours cleaning your Mac physically, you can utilize a strong utility CleanMyMac X to find and eliminate all the garbage from your startup plate.
CleanMyMac has all that to complete the 3-hour errand of cleaning your hard drive in under 5 minutes. It will examine every last trace of your framework and eliminate gigabytes of garbage in two ticks. Coincidentally, CleanMyMac finds around 75 GB of garbage overall – all that anyone could need for a smooth Windows establishment.
This is the way to clean your Mac with CleanMyMac X:
Download CleanMyMac here.
Run the application and snap Scan.
Click Run.
That is all there is to it! Gigabytes of garbage are gone from your PC for eternity.
3. Back up your Mac
At last, you ought to likewise play out a reinforcement of your Mac on the off chance that something turns out badly. In spite of the fact that, it happens once in a blue moon, it’s generally better to back up your significant information. There are a couple of techniques for support up your Mac, so pick the most advantageous one for you.
You can make programmed reinforcements with Time Machine – programming that accompanies your Mac. It backs up all information, so you can recuperate individual documents or your whole framework from your reinforcements. You may likewise store records in iCloud and access them at whatever point you really want. iCloud accompanies 5 GB of free stockpiling yet you can overhaul it any time. Assuming you have an outside stockpiling gadget, you can duplicate a few documents and organizers on it.
We really do prescribe you to back up your Mac prior to introducing Windows as it limits the possibility losing significant information.

The most effective method to Install Windows with Boot Camp
This is the way to introduce Boot Camp. The establishment can be a brief period consuming, yet it is in no way, shape or form troublesome. Look at the subtleties beneath.
Stage 1: Get a Windows circle picture
As a matter of first importance, you want to get the Windows circle picture (ISO record) from the Microsoft site. This is the way to download it:
Visit the Windows 10 circle picture download site.
Go to the Select release menu and pick Windows 10.
Click Confirm.
Pick the language of establishment and snap Confirm.
Click 64-digit Download and afterward click Save.
The ISO document currently will be downloaded to your Mac.
Stage 2: Open Boot Camp Assistant
Training camp Assistant aides you through introducing Windows on your Mac. You simply need to adhere to the onscreen guidelines. To send off the Boot Camp Assistant, go to Applications > Utilities organizer. Click proceed and Boot Camp for Mac will consequently find the ISO record on your framework.
Stage 3: Create a parcel for Windows
At the point when you are finished with the Assistant, your Mac restarts to the Windows installer. At the point when you are asked where you need to introduce Windows, pick the BOOTCAMP parcel and snap Format.
*Note that this progression is possibly required assuming you’re utilizing a blaze drive or optical drive to introduce Windows. In different cases, the right segment will be chosen and arranged for you consequently.
Stage 4: Install Windows
- To complete the establishment, you need to adhere to the onscreen directions. Take a long breath – the following 12 stages might seem like climbing Everest, yet it’s a lot more straightforward than you suspect. This is the way to introduce Windows on a Mac:
- Pick your ISO record and tap the Install button.
- Type your Password and snap OK. You will see the Windows Setup screen.
- Select your language.
- Click Install Now.
- Type your item key in the event that you have it. In any case, click “I don’t have an item key”.
- Select Windows 10 Pro or Windows Home and afterward click Next.
- Click Drive 0 Partition X: BOOTCAMP.
- Click Next. Windows 10 will be introduced.
- Whenever the Setup screen shows up, click either Use Express Settings or Customize Your Installation. We prescribe you to pick the Customize button and debilitate the overwhelming majority of the switches.
- Then you’ll be approached to make a record. Type a username. You can likewise add a secret key on the off chance that you need it.
- Click Next.
- Pick regardless of whether you need to utilize the Cortana individual collaborator. You can incapacitate it by clicking Not Now button.
- Windows will boot completely so you can utilize it ordinarily.
- On the Welcome to Boot Camp Installer box, click Next and acknowledge the terms in the permit arrangement. Then, at that point, click Install to continue. When the installer finishes, click Finish to reboot your machine.
Stage 5: Restart your Mac
Of course, your Mac will in any case boot to macOS. To get to Windows, you need to switch your Mac off and afterward turn it on while holding the Option (Alt) key. You will be asked from which drive you might want for sure.
Note that while in Windows, the Mac’s Command key capacities as the Windows key, while the Option key capacities as the Alt key. Assuming that you have a Touch Bar, you’ll see a total arrangement of buttons, like the Control Strip in macOS.

Instructions to eliminate Windows from your Mac
In the event that for certain reasons you needn’t bother with Windows any longer, you can forever eliminate it from your Mac. Follow these means:
Boot into macOS, send off Boot Camp Assistant and snap Continue.
The Assistant will show the current Windows parcel. Select it.
Click Restore when you see the Restore Disk to a Single Volume choice.
The Boot Camp Assistant will consequently eliminate Windows from your Mac.
Caution: All information, including programming
Also Read:
Google Fi Simply Unlimited and Monthly Plans: Limitless: Adaptable
Quick Tips for How to Make a Poll on Instagram With Pictures: Multiple Options
Insider Risk Management Framework: A New Approach to Data Protection
Simplest way to know the Microsoft Edge Sleeping Tabs Settings, Browser
FAQS:
Q1. Is introducing Windows on Mac free?
Macintosh proprietors can utilize Apple’s implicit Boot Camp Assistant to introduce Windows for nothing. The primary party right hand makes establishment simple, yet be cautioned that you should restart your Mac at whatever point you need to get to the Windows arrangement.
Q2. Is introducing Windows on Mac a smart thought?
The Advantages of Having Windows on a Mac
Having this stage on the Mac brings a few advantages: Cuts down IT costs. Clients don’t have to put resources into another PC just to run Windows. Dispenses with the need to change starting with one PC then onto the next.
Q3. Could I at any point introduce Windows 10 for nothing on Mac?
How to Install Windows on a Mac? Macintosh proprietors can utilize Apple’s inherent Boot Camp Assistant to introduce Windows for nothing. The primary party associate makes establishment simple, however, be admonished that you should restart your Mac at whatever point you need to get to the Windows arrangement
Q4. Does Boot Camp log jam Mac?
You’ll have to utilize a program called Boot Camp to locally boot Windows. Training camp permits Windows to have full admittance to all of the PC’s handling power and such. Training camp won’t dial back the PC by the same token. It fundamentally makes it feasible for you to run Windows on a Mac.
the article has provided the detailed study about How to Install Windows on a Mac in detail. i Hope the article finds helpful for you. If you want to share something related feel free to reach us in the comment section below.
Comments are closed.