


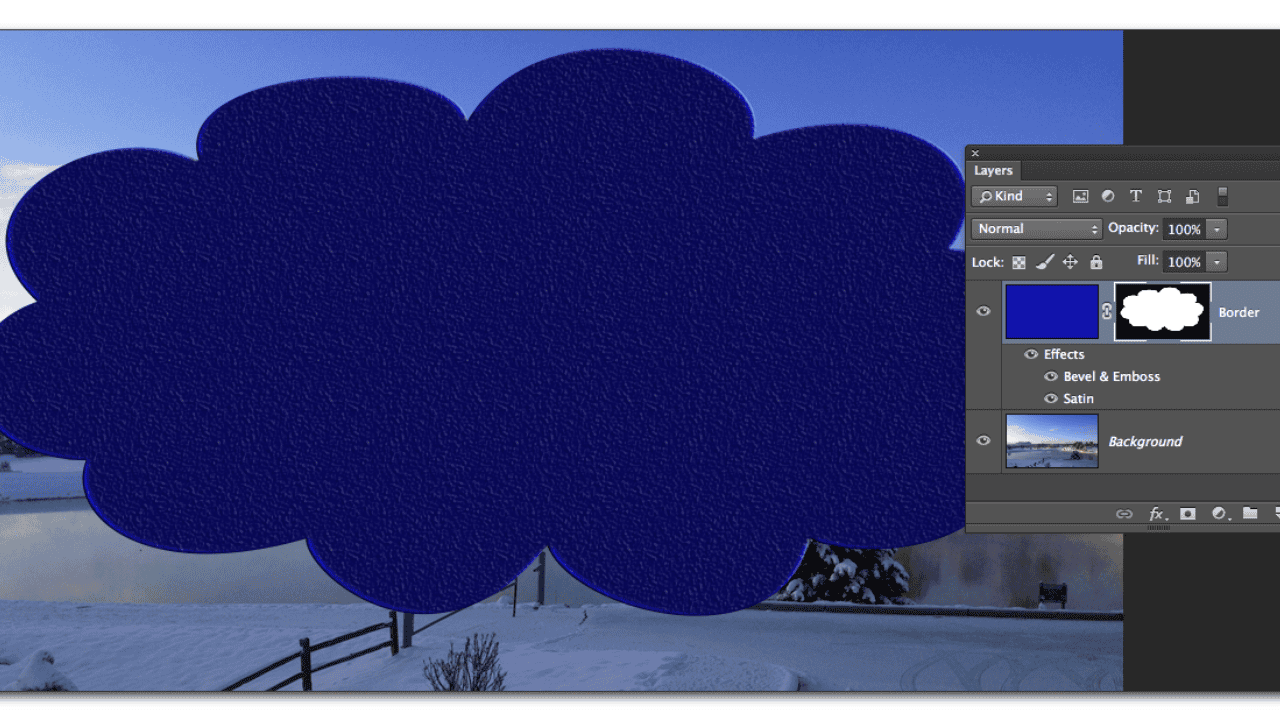
Here is everything you need to know about how to flip a Photoshop mask. In this piece, we’ll look at the many ways you can edit photos to make them look great. This book will help you take beautiful pictures no matter how much you know about photography. One of the most important tools in Photoshop is the layer mask.
They not only help you decide what to do, but they also let you change individual levels and changes. When you add choices or copy layer masks, you often see the opposite of what you want. That’s why it’s so helpful to know how to flip a layer mask.
Also Read: New Software for Photographers – RetouchMe Pro
This lesson will show you how to reverse a layer mask in Photoshop, which will save you a lot of time. You don’t have to make a new layer mask from scratch. Instead, you can use a few tools and tricks to flip the one you already have. Let’s get started!
Table of Contents
What Does Inverted Masks Mean?
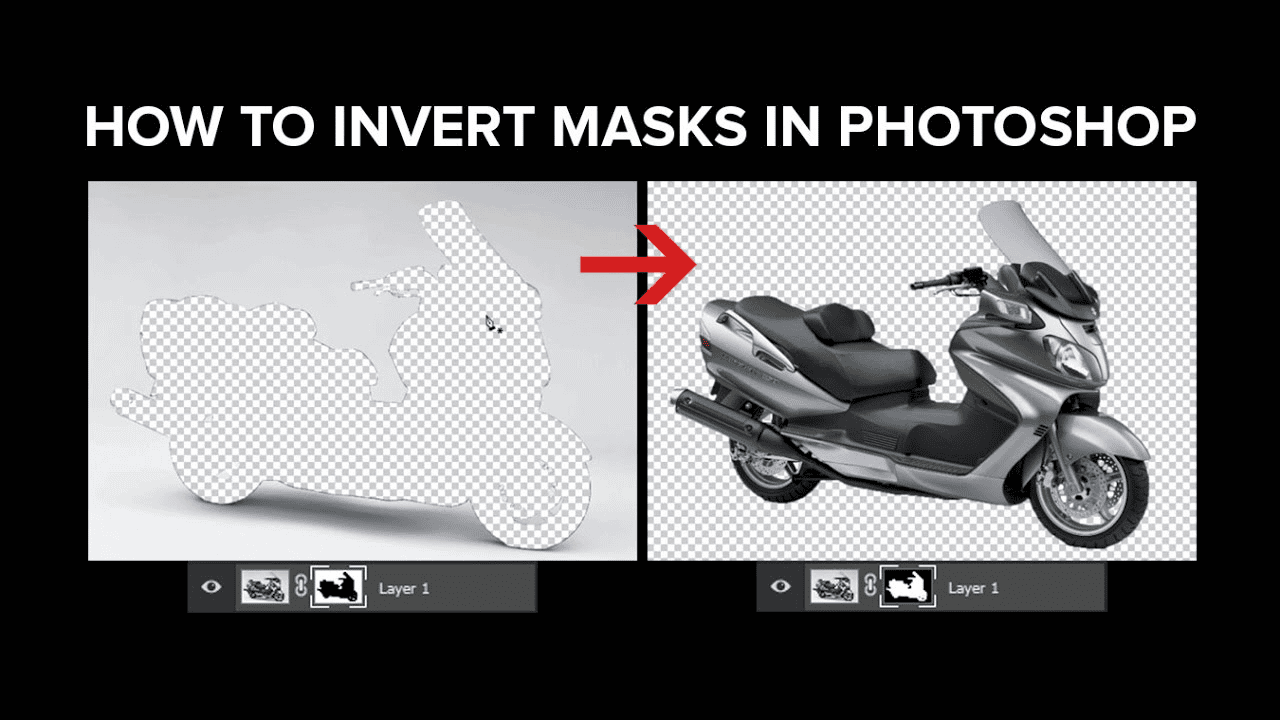
Before we talk about how to reverse masks in Photoshop, we should talk about what reversed masks are and how they work. Masks that have been turned upside down look nothing like normal masks. A normal mask lets you show or hide parts of a picture.
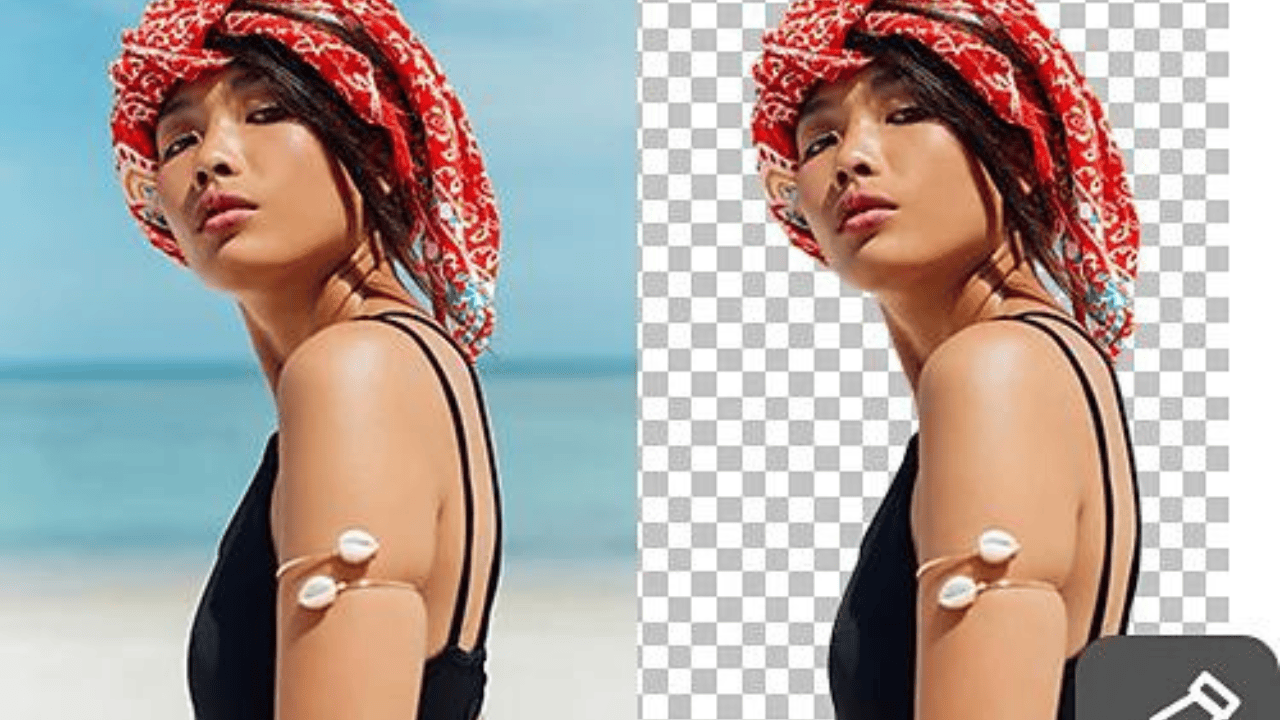
You can show or hide everything except the part that is hidden with an inverted mask. You can make your shots look great by turning a mask on its side. For instance, you could use an inverted mask to make a dramatic black-and-white effect or to draw attention to certain parts of a picture.
How to Invert Masks in Photoshop?
There are several ways to turn masks on their heads in Photoshop. Here are a few of the best ways to do it:
Using the “Invert” command
The “Invert” button is the best way to flip a mask in Photoshop. To do this, choose the mask layer you want to flip and go to Image > Adjustments > Invert. This will flip the mask and give your picture a beautiful effect.

By Using the Brush Tool
Using the Brush Tool is another good way to flip masks in Photoshop. To do this, choose the mask layer you want to flip and then choose the Brush Tool from the tools. Then, paint over the parts you don’t want to show and make the middle white. This will turn the mask over and show you where you went over the paint.

Also Read: How to Save a Picture From Google Using Drag & Drop Method
Using the Gradient Tool
You can also flip masks with Photoshop’s powerful Gradient Tool. To do this, choose the mask layer you want to flip and then choose the Gradient Tool from the tools. Then, change the center color to white and move the Gradient Tool over the area you want to show. This will flip the screen so you can see where the Gradient Tool was changed.
How To Invert A New Layer Mask?
When you make a new layer mask, you might want it to start out black (also called “transparent”). By default, a new layer mask is 100% white, which means it can be seen. After making the mask, you’ll need to “invert” it.
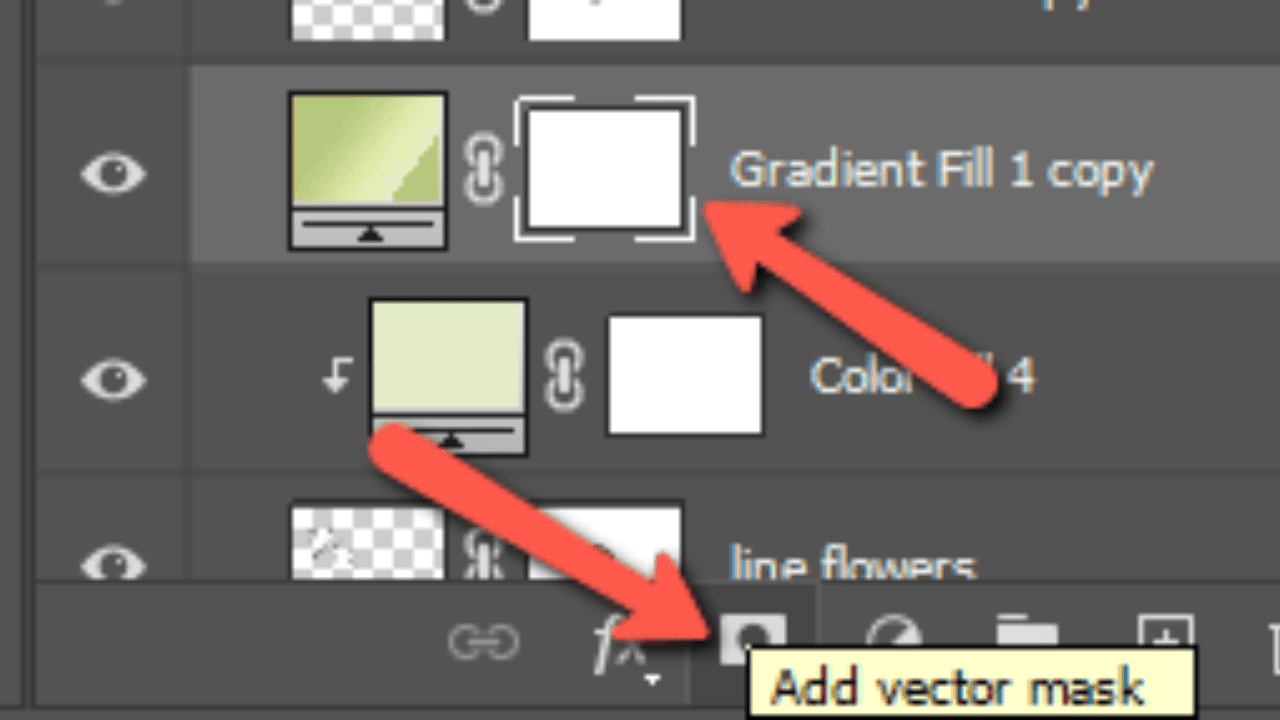
You can do this better than by making a new layer mask and using the “invert” trick above. Select the layer you want the layer mask to go on. Then, to make a new mask, press Option (Mac) or Alt (PC) and click the layer mask button.
This will make an upside-down black mask instead of a white face. If you do it this way, you won’t have to use a computer shortcut to flip your layer mask. Now that it’s been turned around, it’s ready to go as soon as it’s made.
How to Open an Inverted Layer Mask?
Also, start with a black mask. When you click the Layer Mask button at the bottom of the Layers panel, a white mask shows right away. But if you click the button while holding down the Option or Alt key, a black mask will appear instead. This saves you a step if you know from the start that you need a mirrored mask.
Also Read: How To Annotate Images On Your iOS Device Using Instant Markup
How to Copy and Invert a Layer Mask in One Step?
Let’s get even more fancy for a moment. What if you want to copy your layer mask but need the second mask to be the opposite? You can copy the mask and then flip it, or, as I’ll show you here, you can do both at once.
You can copy a layer mask by holding down the Alt or Option key. Then, click and drag the layer mask to the new layer. The layer mask will be copied as it is to the new layer. Hold Alt + Shift or Option + Shift if you want the second mask to be the opposite of the first. Then, click the layer mask and drag it to the new layer.
A Few Tips to Invert Masks in Photoshop
When you flip masks in Photoshop, you can use these tips to get great results:
Experiment with Different Techniques
There are several ways to switch masks in Photoshop. Try each one and see which one fits your picture best.
Use Stacks
Using layers is important when dealing with masks in Photoshop. This will let you change your picture without having to touch the original.
Use the Options
Using selections is another great way to get beautiful results when removing masks in Photoshop. You can make picks with the Lasso Tool or the Marquee Tool, and then you can flip the mask to make some really cool effects.
Also Read: How to make a custom Moto 360 watch face with WatchMaker
Conclusion
Reversing masks in Photoshop is a great way to add cool effects to your photos. No matter how good a shooter you are, the tips in this guide will help you make your projects look great. So go ahead and have fun trying out different ways to make pretty pictures.