Stream HDR video on windows 11. High dynamic range (HDR) video support is one of the fantastic new features in Windows 11, but it has been a part of Windows for some time. Compared to videos of a more typical range, this kind of video quality is more immersive. When HDR video is playing, your screen will become much brighter and the stuff you’re watching will come to life.
However, you’ll need a display that supports HDR in order to enjoy it on Windows, and you’ll also need to adjust a few settings. The settings interface is where you may use HDR video, just like in Windows 10. If you’re using an app or watching a video that supports it, you can toggle it on or off as you see fit. In this guide, we’ll go into further detail about streaming HDR videos.
Table of Contents
How to stream HDR video on windows 11
An HDR-compatible monitor is required in order to stream HDR content on Windows 11. Modern high-end laptops ought to support HDR. One illustration is the 2-in-1 XPS 13. If you want to know if HDR is supported on a laptop, look at the product listing. External screens also need to be able to display HDR content. If you don’t already have an HDR-capable monitor, we recommend taking a look at the one we’ve provided below. The Gigabyte M27Q is a fantastic choice because it is very reasonably priced.
What you will need
Access to the Windows 11 settings app: To change the HDR settings, you must enter the Windows 11 settings app. First, make sure you can access the app. Most accounts—admin or non-admin—should have no trouble accessing this settings page.
A streaming app or a video with HDR support—HDR is only compatible with Windows 11 when paired with content like video games, movies, and streaming apps. Only a select few apps can play streaming HDR video. Additionally, you must make sure that the video you’re watching is full-screen.
Step 1: Prepare to stream HDR video
You must first get ready to enable streaming HDR video using the Windows 11 settings app. You can determine if your system is ready for HDR video by checking. Follow these instructions after pressing the Windows Key + I to open the Windows 11 settings app, selecting System and Display.
- Select HDR or Use HDR after choosing the Display setting. Your screen will turn off and then turn back on.
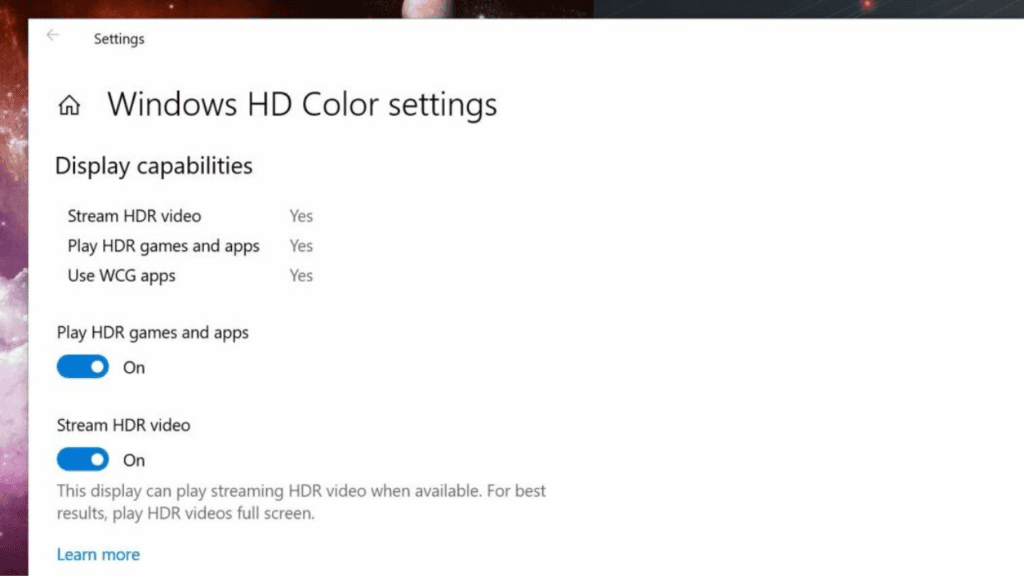
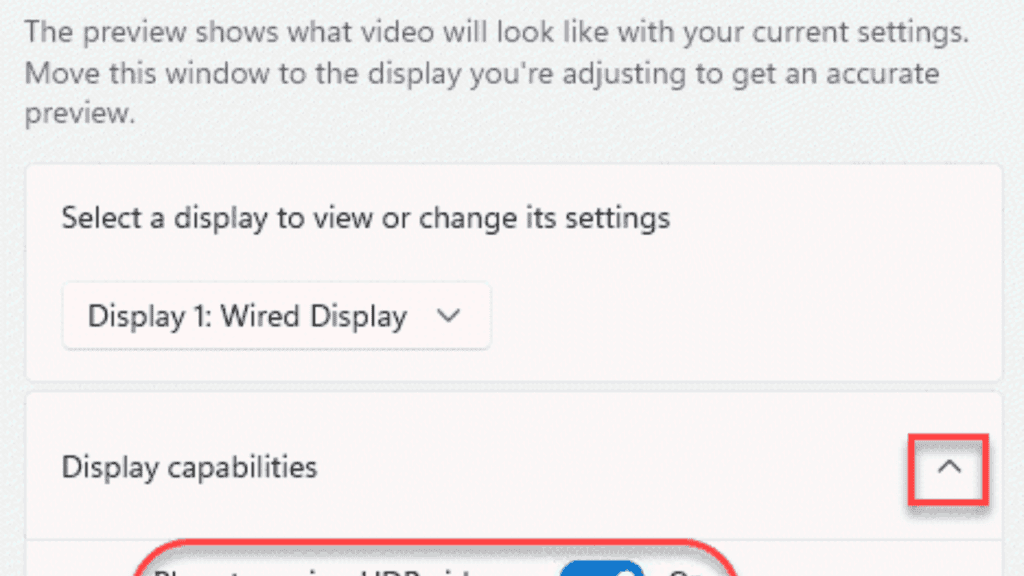
- You should click on this area and then check the Supported or Not Supported checkboxes next to the Play streaming HDR movie button.
You might need to adjust some settings if you notice not supported in order to view streaming HDR video. Observe the advice we provided above. A supported app, a compatible display, and full-screen video are all required. You might also need to make some adjustments to your power settings in order to play HDR video on batteries. Here’s how to go about it..
- Look for HDR or Use HDR on the Display Options page.
- Click the down arrow after selecting the Battery choices section.
- Choose either Allow HDR games, movies, and apps on battery or Allow streaming HDR video on battery.
In the worst-case scenario, you must make sure the power saver function is turned off. Toggle the battery saver symbol when clicking the Wi-Fi icon in the system tray. With power saver on on, HDR is not functional. With that said, you can now move on to the following actions.
Step 2: Turn on HDR video
You can now enable HDR video after completing all of those requirements and fine-tuning your settings. How? Read on. The setting option may have already come to your attention, but we’ll point it out once again.
- To access the Windows 11 settings app, use Windows Key + I.
- Select the Display menu item.
- Choose HDR or use HDR on the monitor you wish to use it on up top. Your screen will turn off and then turn back on.
- Turn on Play streaming HDR video on the HDR screen.
- Make sure your HDR video is full-screen before starting to stream it.
Conclusion
As you can see, Windows 11 makes it simple to stream HDR videos. Simply go to the appropriate option page. You may also tailor your HDR experience while you’re at it. You can adjust the brightness from the same settings as we described previously if necessary! We hoped our manual will be useful.
Also Read:
How to Split screen in windows 11 using 5 Effective Methods
How to disable update notifications on Windows 11
4 Ways to take a screenshot on windows 11
Windows 11 has a secret Start menu & New Features— this is how you can access
FAQs:
Q1: How do I play HDR videos on Windows 11?
- Search for options after choosing Start. To change the display, select Settings > System.
- Choose the desired display from the list at the top.
- Use HDR or choose HDR.
- Turn on HDR video streaming in the HDR area.
Q2: Does Windows 11 support HDR?
With Windows’ HDR support, HDR content will also start to appear on Windows 11 devices. Use a device with a real HDR10 display to enjoy the greatest HDR experience. These displays are required for HDR applications and gaming. On a genuine HDR panel, watching video will be the most enjoyable.
Q3: Why is HDR not supported on my PC Windows 11?
For protected HDR content, your Windows 11 device must have an integrated graphics card that supports PlayReady hardware digital rights management and have the necessary codecs loaded. Modern processor-powered devices are capable of this.
Q4: Can VLC play HDR10?
Theoretically, it can. The HDR10 support in the VLC 3.0 upgrade ensures that your computer’s hardware and software, source video, HDMI cable, and other factors all work together to produce the best possible HDR effect.
Q5: How do I calibrate my HDR in Windows 11?
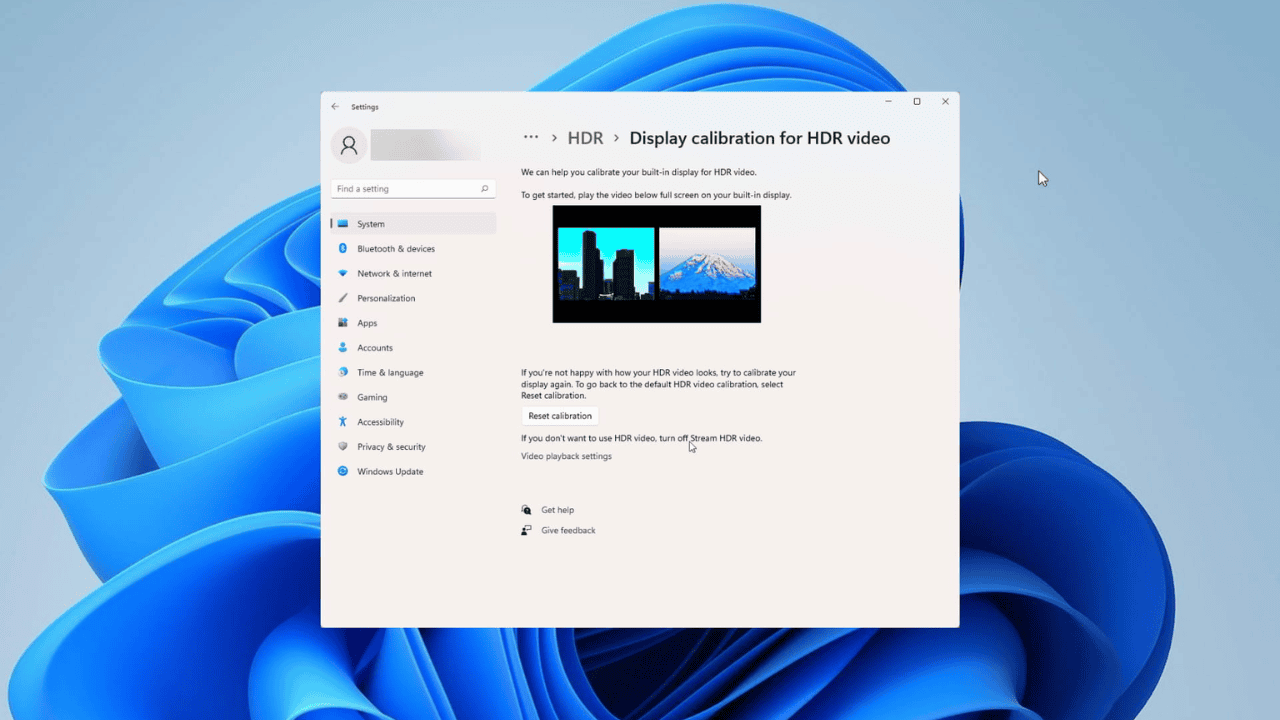
To turn it on, go to Settings > Display > HDR. Select All programmes > Windows HDR Calibration after clicking the Windows logo. If you have several displays, make sure the app launches on the HDR-capable one and that it is running in full screen mode.


Comments are closed.